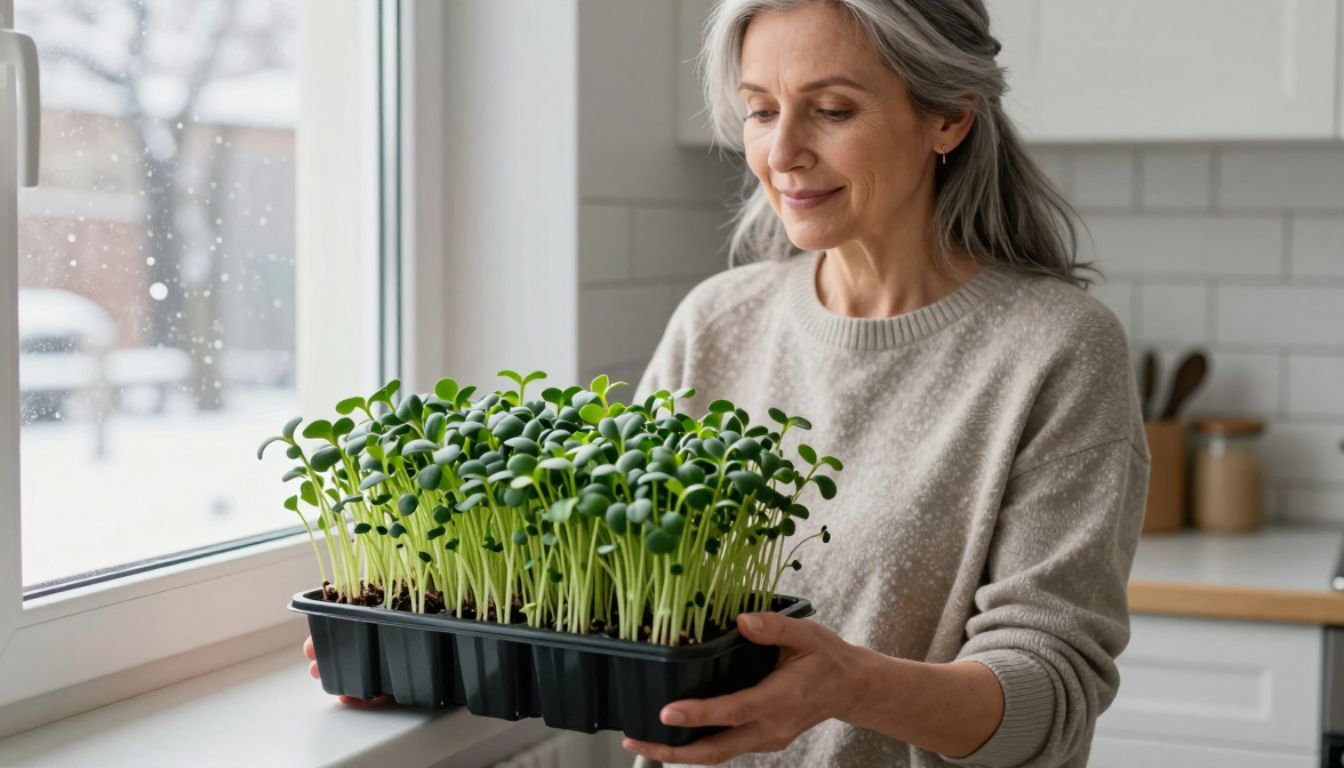
You don’t need a yard, a balcony, or even a “green thumb.” If you have a windowsill, you have everything required to grow perfect chia microgreens in less than a week. That narrow strip of light and stable indoor temperature is the simplest, most foolproof shortcut to consistently crisp greens—no soil bags, no grow lights, no guesswork.
Chia microgreens are having a moment in January 2026, and for good reason. They’re nutrient-dense, fast-growing, and forgiving—ideal for anyone living in a small apartment, a dorm room, or a house with zero outdoor space. The windowsill method works because it removes the variables that trip up most beginners: unpredictable weather, pests, and the need for specialized equipment.
Why your windowsill is the perfect microgreens lab
Windowsills offer three things chia seeds crave: predictable light, stable temperatures, and easy access for daily care. Unlike outdoor gardens, where rain, wind, and temperature swings can derail a crop, your indoor windowsill stays consistent. Chia microgreens thrive in temperatures between 60–75°F (15–24°C)—exactly what most homes maintain year-round.
The light doesn’t need to be intense. Bright, indirect light from an east- or west-facing window is ideal. South-facing windows work too, as long as you keep the tray a few inches back from the glass to avoid direct sun scorch. Even north-facing windows can support chia microgreens, though growth may take an extra day or two.
Because the setup sits indoors, you can check on it every morning while making coffee. No trudging outside, no bending over raised beds—just a quick glance and a light mist. This ease of routine is what makes windowsill growing sustainable, even for people who’ve killed every houseplant they’ve ever owned.

The 6–7 day method: tray to harvest
Growing chia microgreens on a windowsill requires minimal supplies: a shallow tray or plate, a growing medium (paper towels, coconut coir, or hemp mat), chia seeds, a spray bottle, and a cover (a second tray, plastic wrap, or a plate).
Day 0 (planting): Moisten your growing medium until damp but not soaking. Sprinkle chia seeds evenly across the surface—aim for dense coverage without piling seeds on top of each other. Mist lightly with water. Cover the tray to lock in humidity and place it on your windowsill.
Day 1–2 (germination): Keep the tray covered. Mist once daily if the medium looks dry. The seeds will begin to swell and sprout tiny white roots. This stage doesn’t require light yet—the cover keeps moisture in and warmth stable.
Day 3 (uncover): Remove the cover once you see a carpet of pale green shoots about half an inch tall. Move the tray into bright, indirect light. Mist once or twice daily to keep the medium moist. The shoots will begin to straighten and reach toward the light.
Day 4–5 (growth spurt): The microgreens will grow quickly now, turning a deeper green as chlorophyll kicks in. Keep misting daily. If the medium feels soggy, skip a misting session—overwatering is the most common mistake at this stage.
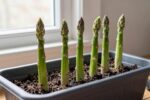
Day 6–7 (harvest): Your chia microgreens are ready when they’re 1.5–2 inches tall, with bright green leaves and sturdy stems. Snip them just above the medium with clean scissors. Rinse gently, pat dry, and use immediately or store in the fridge for up to three days.
What “perfect” looks like at every checkpoint
Knowing what to expect at each stage helps you catch problems early—or simply enjoy the satisfaction of watching things go right.
Day 2: A fuzzy white layer of roots should cover the seeds. If you see mold (which is rare with chia), it will look gray or smell musty. Roots smell earthy and clean.
Day 3: Shoots should be pale yellow-green, standing upright, and roughly even in height. If they’re leggy or flopping over, they need more light—move the tray closer to the window.
Day 4: The leaves will start to open and turn green. If they’re still pale, increase light exposure. If tips are browning, you’re either misting too little or the sun is too direct.
Day 6: The microgreens should be vibrant green, crisp, and slightly nutty when you taste one. If they taste bitter, they may have been exposed to too much heat or inconsistent watering.

Common windowsill pitfalls (and how to avoid them)
Even the simplest method has a few traps. Here’s how to sidestep them without overthinking.
Direct sun scorch: If your tray sits in a beam of direct sunlight for hours, the greens can wilt or brown. Move the tray a few inches back from the glass, or use a sheer curtain to diffuse the light.
Stagnant air: Windowsills near closed windows can trap humidity, especially in winter. Crack the window slightly for a few minutes each day, or point a small fan toward the tray on low speed to keep air circulating.
Over-misting: Chia seeds create a gel-like coating when wet, which helps them stick to the medium. But too much water can drown the roots or encourage mold. Mist lightly—just enough to keep the surface damp, not puddled.
Under-misting: If the medium dries out completely, the roots can’t absorb water and the greens will wilt. Check the tray every morning. If the surface looks dry, mist it.
Uneven light: If your tray sits at an angle or only one side gets light, the greens will lean or grow unevenly. Rotate the tray 180 degrees every other day.
Why chia microgreens are worth the week
Chia microgreens are packed with omega-3 fatty acids, fiber, protein, and antioxidants—more concentrated than mature chia seeds. They add a mild, slightly nutty crunch to salads, sandwiches, smoothie bowls, and avocado toast. Because they’re so fast-growing, you can start a new tray every few days and have a continuous supply.
They’re also one of the most beginner-friendly microgreens. Unlike radish or mustard greens, which can taste peppery or bitter if grown too long, chia microgreens stay mild and sweet. They don’t require soil, so there’s no mess to clean up. And because they grow so quickly, you get feedback fast—if something goes wrong, you’ll know within a few days and can adjust your next batch.
Pick a window, start tonight, harvest next week
You don’t need to wait for spring, order special equipment, or clear space in your kitchen. Pick the brightest windowsill in your home, grab a shallow dish, and scatter a tablespoon of chia seeds. By this time next week, you’ll be snipping fresh greens for breakfast.
The beauty of windowsill gardening is that it’s low-commitment and high-reward. If your first tray doesn’t turn out perfectly, you’ve lost seven days and a handful of seeds—not a season’s worth of work. Most people find that by the second or third tray, they’ve dialed in their routine and can grow perfect microgreens on autopilot.
Start tonight. Your windowsill is ready.