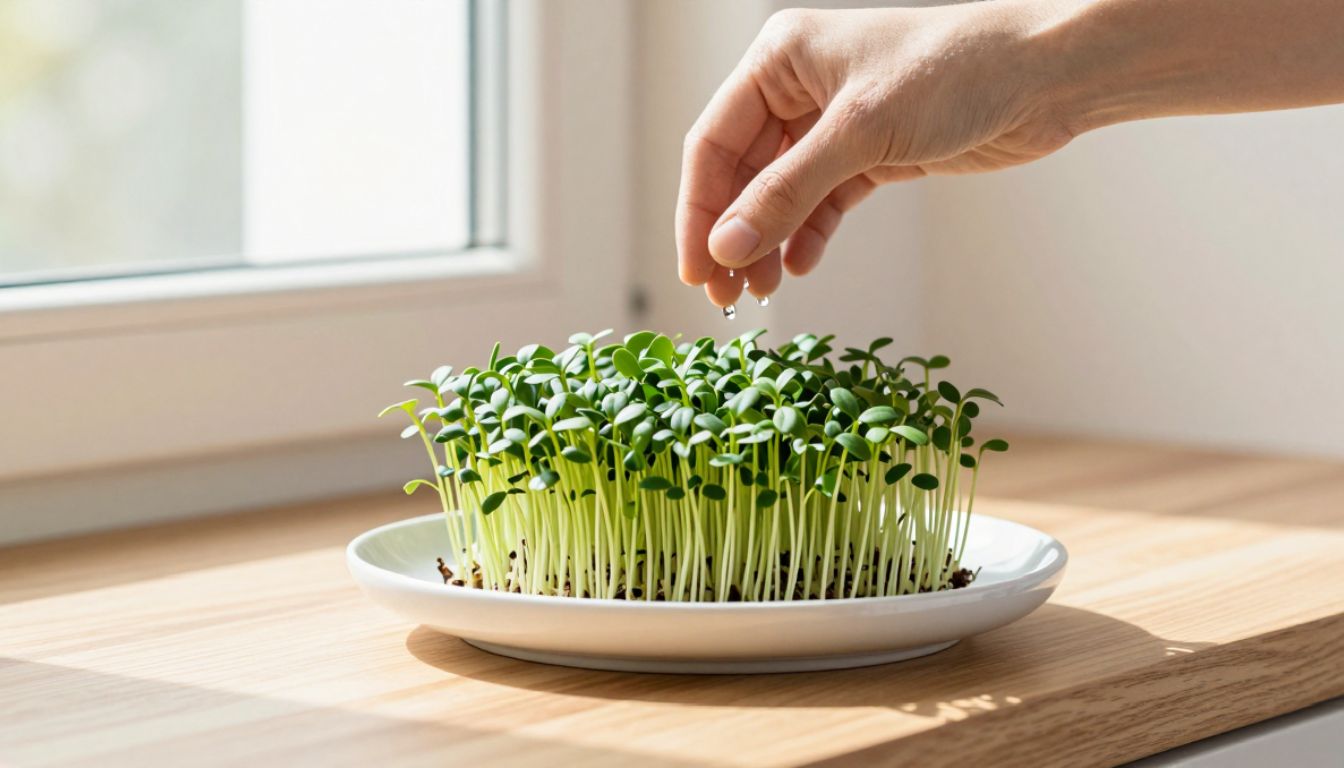
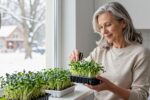
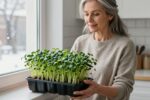
If you’ve been putting off growing microgreens because you don’t own a tray, here’s the simplest workaround: a dinner plate, a few paper towels, and a handful of chia seeds. No special equipment, no online orders, no waiting. This setup looks tidy on a windowsill and can produce crisp, peppery greens in under a week.
The plate method removes every barrier. You probably have everything you need in your kitchen right now.
Why a plate works just as well as a tray
Microgreens don’t need soil or depth—they grow from the seed’s stored energy. All they require is moisture, air circulation, and light. A shallow ceramic or glass dinner plate provides exactly that.
Trays are convenient for scaling up, but they’re not essential. A plate gives you:
- Controlled moisture: Paper towels wick water evenly and prevent seed rot.
- Easy monitoring: You can see exactly when edges dry out.
- No cleanup hassle: Toss the paper towel, rinse the plate, done.
- Windowsill-friendly: Plates fit neatly on narrow sills without tipping.
If you’re testing whether you’ll actually eat microgreens, this is the lowest-risk way to find out.
What you need (5 items, 2 minutes)
Gather these before you start:
- One dinner plate (8–10 inches, ceramic or glass)
- Paper towels (white, unscented—avoid printed designs)
- Chia seeds (1–2 tablespoons; find them in the baking aisle or bulk section)
- Spray bottle (filled with clean water)
- Optional: a second plate (to use as a cover for the first 2–3 days)
Chia seeds are ideal for this method because they develop a gel coat when wet, which keeps them anchored and moist. You don’t need to soak them first.
Step-by-step setup
Day 1: Lay the foundation
Fold 2–3 paper towels and place them flat on the plate. Mist them thoroughly with the spray bottle until they’re damp but not dripping. There should be no standing water pooling at the edges.
Sprinkle chia seeds evenly across the surface. Aim for light, even coverage—seeds should nearly touch but not pile up. About 1 tablespoon covers an 8-inch plate.
Mist the seeds lightly. They’ll start to swell and turn slightly translucent within 15 minutes.
Cover the plate with a second plate (upside-down) or a clean kitchen towel. This traps humidity and mimics darkness, encouraging germination. Place the setup somewhere room temperature, away from direct sun.
Day 2–3: Check moisture
Lift the cover once a day. The paper towel should still feel damp. If edges are drying out, mist from the side rather than directly on the seeds—this prevents disturbing the tiny roots.
You’ll see white root threads anchoring into the paper towel by day 2. Tiny green cotyledon leaves will start to unfold by day 3.
Day 3–4: Uncover and move to light
Once the greens are about half an inch tall, remove the cover and move the plate to indirect light—a windowsill that gets bright but not harsh midday sun is perfect. North- or east-facing windows work well in January.
Avoid direct sun at this stage; it can scorch the delicate leaves and dry out the paper towel too fast.
Day 4–6: Maintain moisture, watch for harvest readiness
Mist the plate once or twice a day, aiming at the edges of the paper towel. The roots will pull moisture inward. If you see the greens wilting slightly, mist more often.
By day 5 or 6, the microgreens will be 1–2 inches tall, with two bright green leaves per stem. They’ll taste mildly peppery and crunchy.
Common plate pitfalls (and quick fixes)
Standing water at the edges
This invites mold. If you see pooling, tilt the plate gently to pour off excess water, or blot the edge with a dry paper towel.
Paper towel drying out too fast
If your windowsill is near a heater or in dry winter air, the towel can dry in hours. Fix: mist more frequently, or place a second damp paper towel underneath the first to act as a reservoir.
Seeds clumping or sliding
Chia seeds gel quickly, but if you mist too hard before they’ve anchored, they can clump. Fix: use a fine-mist spray setting, not a stream. If clumps form, gently nudge them apart with a toothpick on day 1.
Greens growing leggy (tall and pale)
This means they’re stretching for light. Move the plate closer to the window, or add a few more hours of indirect light each day.
Mold on the paper towel
Usually caused by too much moisture and not enough air. If you see fuzzy growth, discard that batch, rinse the plate, and start over with better airflow (skip the cover after day 2, or prop it open slightly).
How to harvest and use them
When the greens are 1–2 inches tall and the leaves are fully open, snip them just above the paper towel with clean kitchen scissors. Rinse gently under cool water and pat dry.
Use them immediately for the crispest texture:
- On avocado toast (the classic)
- In grain bowls or salads for a peppery bite
- As a garnish on soups or scrambled eggs
- Blended into smoothies for a nutrient boost
Chia microgreens are rich in omega-3 fatty acids, fiber, and antioxidants—more concentrated than the mature plant.
If you love it, here’s how to scale up
Once you’ve grown a few successful plate batches, you might want to expand. That’s when trays, grow lights, and seed mats become useful—but they’re not required to start.
For now, this works right now. No shipping delays, no upfront cost, no learning curve. A plate on your windowsill in early January can give you fresh greens by mid-January, even while snow sits outside.
If you don’t love the taste or the routine, you’ve lost nothing. If you do, you’ve discovered a habit that costs pennies and takes up six inches of counter space.
Grab a plate, mist a paper towel, and scatter some seeds. You’ll know in five days whether this is for you.