If your chia microgreens suddenly look greener after day 4, that’s not random—it’s the normal moment they “wake up” to light and start building deeper color. Here’s what’s happening and how to support it so the tray finishes crisp and vibrant.
Many windowsill growers panic when their pale, yellowish sprouts transform overnight into rich green shoots. But this color change isn’t a problem. It’s a success signal that your microgreens are doing exactly what they’re supposed to do.
What’s actually happening on day 4
For the first three days, chia seeds germinate in darkness or very low light. The tiny cotyledons (seed leaves) stay closed or barely open, and chlorophyll production is minimal. The sprouts look pale, almost white or light yellow.
Around day 4, the cotyledons fully open and begin photosynthesis. Chlorophyll floods the leaves as they respond to indirect light. This is when you’ll notice the dramatic green-up—sometimes within just a few hours.
This timing is normal and healthy. It means your microgreens are transitioning from stored seed energy to self-sustained growth. The greener they get, the more nutrients they’re producing.

What to do on days 4–6 to lock in color and crunch
Once you see that green shift, your job is to support the momentum without overwhelming the delicate shoots. Here’s your action plan:
Place the tray in indirect light. A windowsill with bright, filtered light is ideal. North-facing windows work well in the US, or any spot that gets daylight without direct sun beams hitting the tray.
Rotate the tray once a day. A quick 180-degree turn ensures even light exposure and prevents the microgreens from leaning heavily toward the window. This takes five seconds and makes a visible difference in uniformity.
Water gently from below. Use a shallow dish or tray underneath your growing container. Pour water into the bottom dish and let the roots wick it up for 10–15 minutes, then drain any excess. This keeps the surface dry and reduces mold risk.
Remove any covering. If you’ve been using a humidity dome or plastic wrap, take it off by day 4. The microgreens need air circulation now that they’re photosynthesizing.
These steps work together to deepen the green color while keeping the stems crisp and the leaves dry.
What not to do (common mistakes that ruin the tray)
Day 4 is also when many growers accidentally sabotage their progress. Avoid these pitfalls:
Don’t blast them with direct sun. Full sun through glass can scorch the tender leaves or cause them to wilt. The shoots are still fragile. Indirect light is always safer.
Don’t soak the surface. Top watering at this stage invites mold and matting. The dense canopy traps moisture, and fungal growth can spread fast. Always water from below.
Don’t keep a sealed lid on too long. If you leave a humidity dome on past day 4, you’ll trap heat and moisture, creating a greenhouse effect that weakens stems and encourages rot.
Don’t move the tray in and out of light. Consistency matters. Pick one spot with stable indirect light and leave the tray there. Constant relocation stresses the plants.
These mistakes are easy to make, but they’re just as easy to avoid once you know the pattern.

Visual checkpoints: what to expect each day
Here’s a simple timeline to track your tray’s progress:
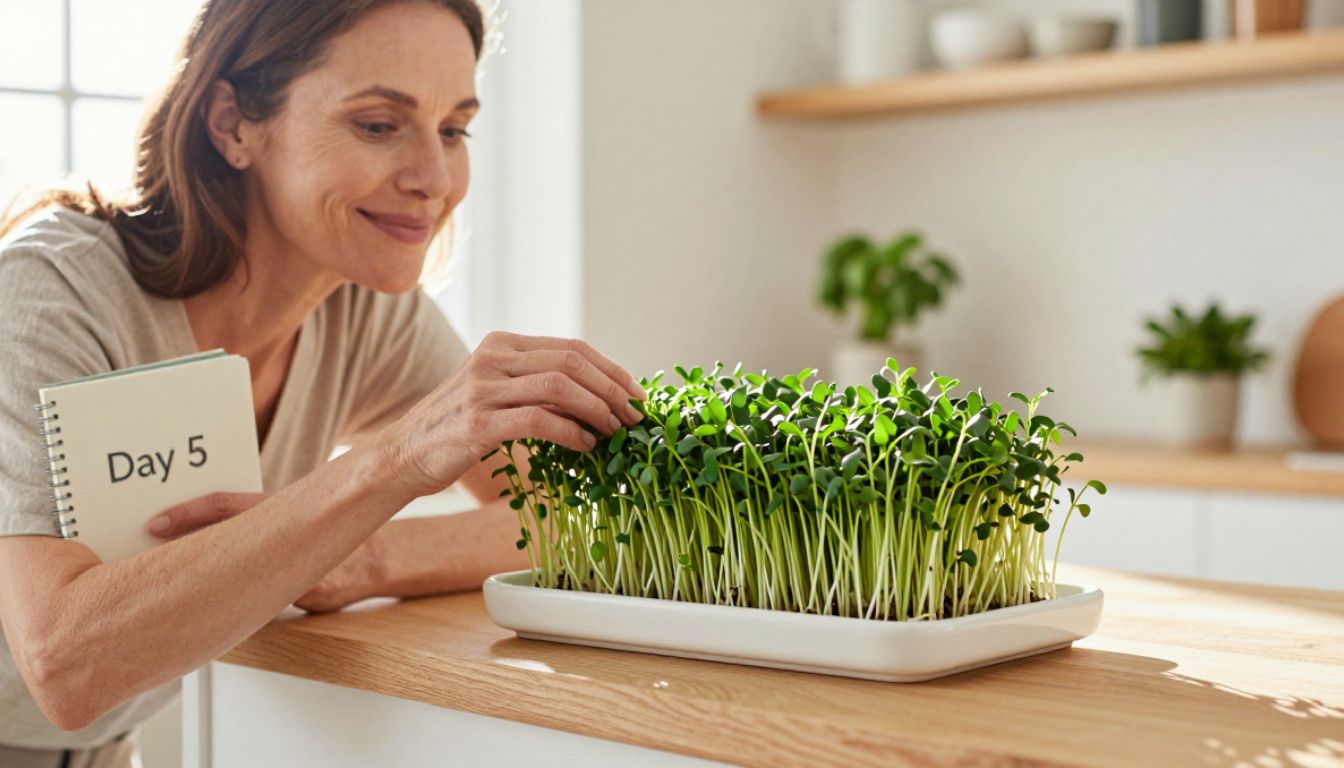
Day 4: Pale yellow-green cotyledons open. You’ll see the first real color shift. Stems are still thin and delicate.
Day 5: Rich, vibrant green leaves. The canopy thickens. Stems stand upright and feel slightly firmer to the touch.
Day 6: Deep green, fully developed leaves. The microgreens reach 1.5 to 2 inches tall. This is your harvest window. The flavor is mild and nutty, the texture is crisp.
If you wait beyond day 7, the leaves may start to yellow at the edges or develop a stronger, slightly bitter taste. Day 6 is the sweet spot for chia microgreens grown on a windowsill.
Why indirect light is the secret ingredient
Direct sunlight is too intense for microgreens at this stage. The leaves are thin and lack the protective waxy coating that mature plants develop. Indirect light provides enough energy for chlorophyll production without the heat or UV stress.
A north-facing windowsill in the US offers consistent, soft light throughout the day. If you only have south or west-facing windows, place the tray a few feet back from the glass or use a sheer curtain to diffuse the light.
You can also use a simple LED grow light if natural light is limited. Position it 6 to 8 inches above the tray and run it for 12 to 14 hours a day. The microgreens will respond just as well.

How to know your tray is on track
By the end of day 5, your chia microgreens should look uniformly green with no yellow patches. The stems should stand upright without leaning heavily to one side. The surface of the growing medium should be dry to the touch, with moisture only at the root level.
If you see any of these signs, you’re doing it right:
- Bright green cotyledons with no brown edges
- Even height across the tray
- No visible mold or fuzzy white growth (note: fine white root hairs are normal and not mold)
- A fresh, grassy smell when you lean close
If something looks off—yellowing, wilting, or mold—adjust your light placement or watering method immediately. Most issues on day 4 or 5 can still be corrected.
Treat day 4 as your color checkpoint for every tray
Once you’ve grown a few trays of chia microgreens, you’ll start to recognize the day 4 green-up as a reliable milestone. It’s the moment when you know the tray is viable and worth continuing.
If your microgreens don’t green up by day 5, it usually means they’re not getting enough light or the seeds were old. But when that color shift happens on schedule, you can relax and follow the simple routine: indirect light, daily rotation, bottom watering.
This checkpoint also helps you time your next tray. If you want a continuous supply of fresh microgreens, start a new tray every 3 to 4 days. By the time one tray hits day 6 and is ready to harvest, the next tray will be hitting day 4 and greening up.
Your next steps
If your chia microgreens are on day 4 right now, move the tray to a bright, indirect light spot and remove any covering. Check the moisture level at the root zone and water from below if needed.
If you’re planning your first tray, remember that day 4 is the turning point. Everything before that is just germination. Everything after that is about supporting the green-up and preparing for harvest.
The color change isn’t a mystery. It’s a feature. And now you know exactly how to work with it.