You’ve probably heard it a hundred times: plants need sunlight. So when you set up your first tray of chia microgreens, the instinct is to find the sunniest spot in your house—maybe that south-facing windowsill that gets blasted with light all afternoon. But here’s the twist: direct sun is often the reason your chia microgreens dry out, turn patchy, or fail to germinate evenly. The best results don’t come from maximum sun exposure. They come from bright, indirect light paired with steady warmth and controlled moisture—and your kitchen window is usually the perfect place to deliver all three.
This isn’t about complicated grow lights or expensive equipment. It’s about understanding what chia seeds actually need during those critical first six days, and placing your tray in a spot that supports the process instead of sabotaging it.
The myth: More sun equals faster, healthier growth
We’ve been conditioned to think that plants thrive in direct sunlight. And for mature plants in soil, that’s often true. But chia microgreens are different. During germination and the early sprouting phase, chia seeds sit on the surface of the growing medium, exposed and vulnerable. They need to stay consistently moist—not soaking, but never dried out.
Direct sun, especially midday beams through glass, creates two problems. First, it heats up the tray unevenly, causing hot spots that dry out sections of the mat or soil. Second, it accelerates evaporation, forcing you to water more frequently and increasing the risk of either drying out or overwatering. The result? Patchy germination, leggy stems, or seeds that never sprout at all.
What chia microgreens actually want is steady warmth (around 65–75°F), bright indirect light that keeps photosynthesis humming without scorching, and controlled moisture that doesn’t swing wildly between wet and dry.
Why the kitchen window wins
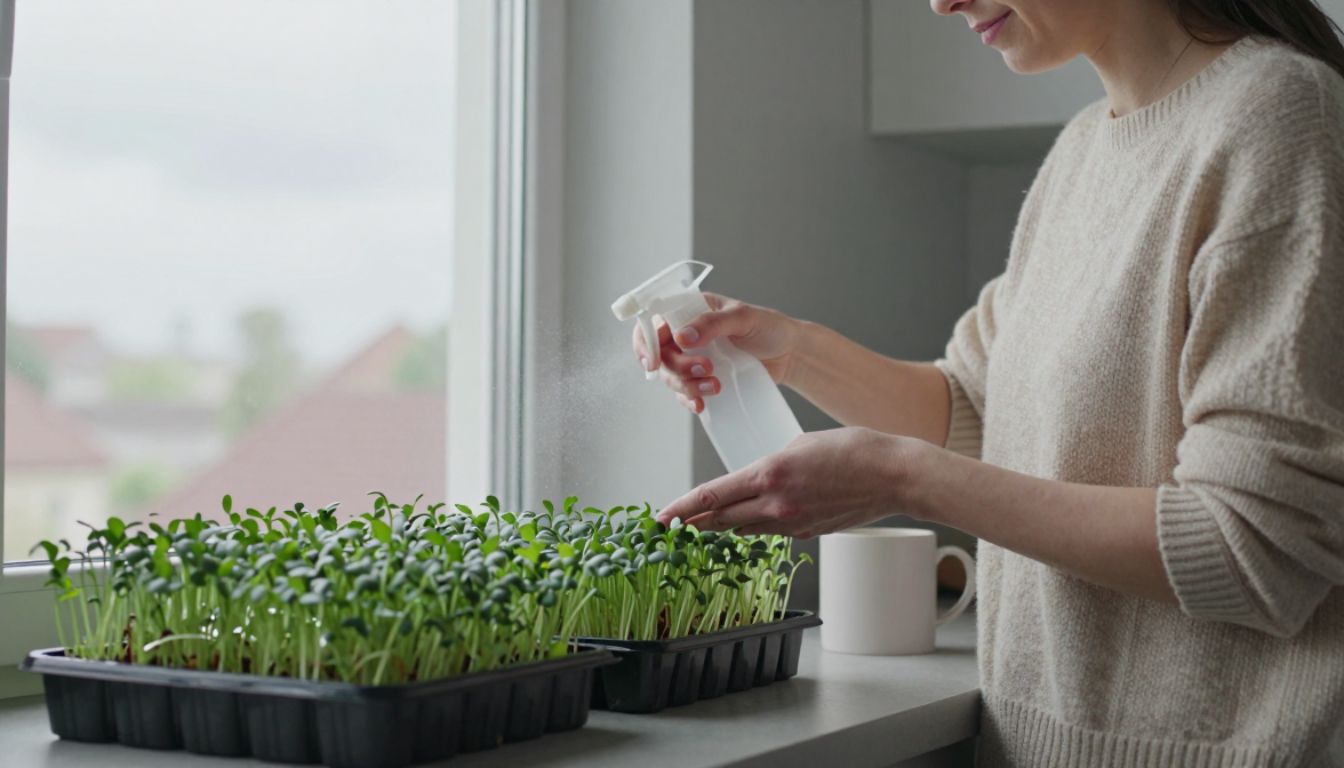
Your kitchen window—especially one that faces east or north in the Northern Hemisphere—offers a natural sweet spot. Here’s why:
- Bright but filtered light. Even without direct sun, a kitchen window typically provides enough ambient brightness to support healthy growth. The light is diffused by the angle, nearby buildings, or even a sheer curtain, which prevents overheating.
- Stable ambient warmth. Kitchens tend to hold a steady temperature throughout the day, especially if you cook regularly. That gentle, consistent warmth is ideal for germination.
- Easy monitoring. You walk past your kitchen counter or windowsill multiple times a day. That makes it simple to check moisture levels, adjust placement, or mist the tray as needed.
- Away from temperature swings. Unlike a bathroom (humidity spikes) or a bedroom (cooler at night), the kitchen maintains a more even climate.
The key is placement. You don’t want the tray pressed right against the glass, where temperature fluctuations are strongest. And you definitely want to avoid the zone directly above the stove, where steam and heat create unpredictable swings.
Where to place your tray: The details that matter
Set your tray 12 to 24 inches back from the window glass. This distance gives you bright light without the intensity or heat of direct sun. If your window gets a beam of direct sun for part of the day, that’s fine—just make sure the tray isn’t sitting in it for more than an hour or so.
Avoid the stove zone. Even if your stovetop is near the window, keep the tray at least three feet away. Cooking creates steam bursts and temperature spikes that can stress seedlings or cause uneven drying.
Check the shadow test. On a sunny day, hold your hand about six inches above the tray. If you see a sharp, dark shadow, the light is too direct. If you see a soft, diffused shadow or barely any shadow at all, you’re in the right zone.
Feel the temperature. Touch the surface of the growing medium mid-morning and mid-afternoon. It should feel gently warm to the touch, never hot. If it feels hot, move the tray farther from the window or add a sheer barrier.
The 6-day kitchen routine
Here’s a simple timeline adapted for a kitchen windowsill setup:
Days 1–2 (Covered phase): Soak chia seeds for 15–30 minutes, then spread them evenly on a damp growing mat or thin layer of soil. Cover the tray with a lid or damp cloth to lock in moisture. Place it on your kitchen counter or windowsill, out of direct sun. No light needed yet—just warmth and humidity. Mist once in the morning and once in the evening if the surface looks dry.
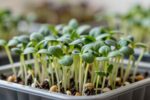
Days 3–4 (Uncovering): Once you see the first tiny green shoots poking through, remove the cover. Move the tray into your bright, indirect kitchen-window spot. The seedlings will start reaching for the light. Water from the bottom if possible (lift the mat and add water to the tray beneath), or mist gently from above. The goal is to keep the mat damp but not puddled.
Days 5–6 (Growth phase): The microgreens will grow quickly now. Keep them in the same spot. Water once or twice a day, depending on how fast the mat dries out. If the stems look pale or yellowish, they need a bit more light—move the tray six inches closer to the window. If the tips look scorched or the mat dries out in under 12 hours, move it back or add a sheer curtain.
Harvest: By day 6 or 7, your chia microgreens should be 1.5 to 2 inches tall, with vibrant green leaves. Snip them just above the mat with clean scissors.
What if you only have direct sun?
Not everyone has an ideal kitchen window. If your only option is a spot that gets direct sun for several hours a day, here are three fixes:
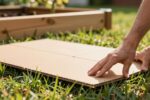
1. Sheer curtain or shade cloth. Hang a lightweight curtain or drape a piece of shade cloth across the window during peak sun hours (usually 10 a.m. to 3 p.m.). This diffuses the light and cuts the intensity by 30–50%, which is often enough to prevent overheating.
2. Move the tray farther back. Instead of 12 inches from the window, try 36 inches. You’ll still get plenty of light, but the heat and intensity drop significantly.
3. Shorten the exposure window. If the sun hits your windowsill from noon to 4 p.m., move the tray into that spot only in the morning or late afternoon, and keep it on a shadier counter the rest of the day. It’s a bit more hands-on, but it works.

Consistency beats perfection
You don’t need a smart grow light, a temperature-controlled greenhouse, or a degree in horticulture to grow healthy chia microgreens. What you need is a spot that delivers bright, indirect light, steady warmth, and easy access for daily care. For most people, that spot is a kitchen windowsill—12 to 24 inches back from the glass, away from the stove, with a soft shadow and a gentle warmth when you touch the tray.
The myth that more sun is always better has probably cost you a few failed trays. But now you know: indirect light isn’t a compromise. It’s the advantage. Set up your tray in that sweet spot, follow the 6-day routine, and you’ll see consistent, vibrant growth—no guesswork, no expensive gear, just a simple placement rule that works.