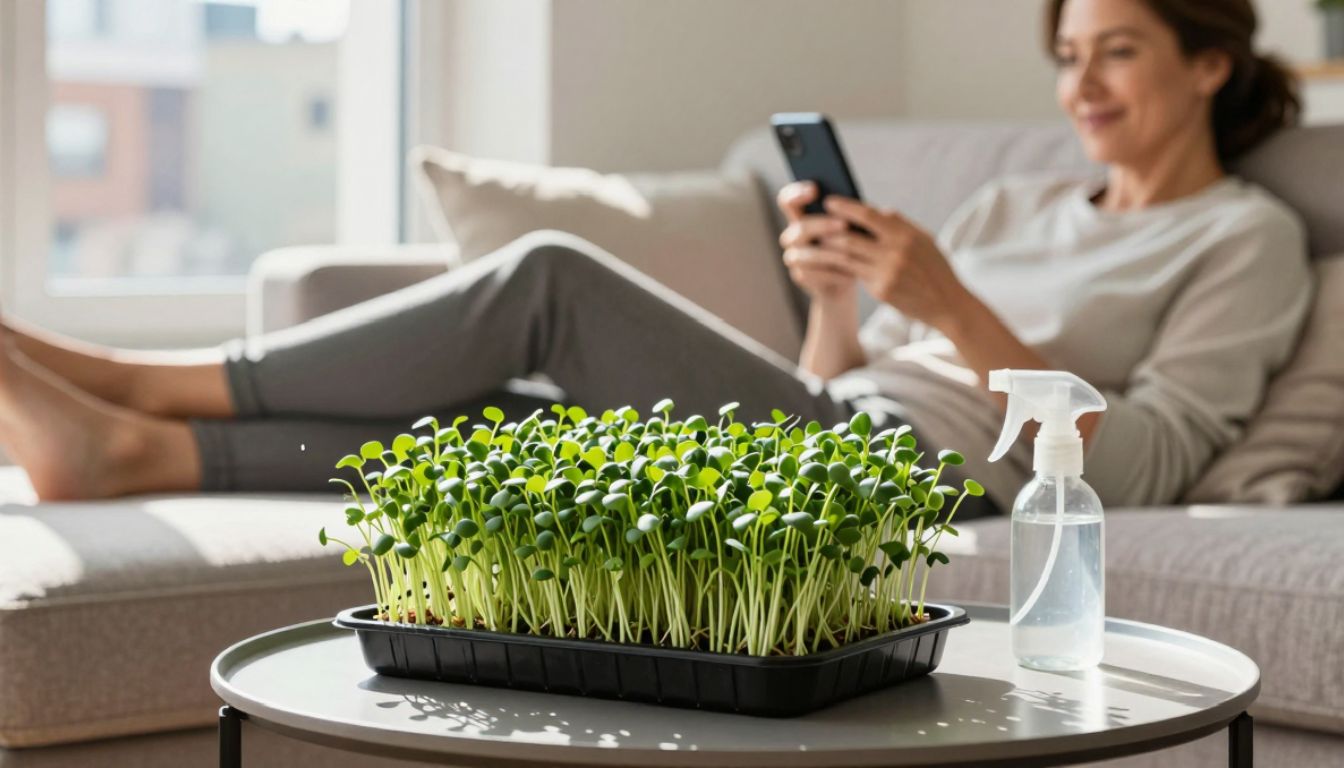
Perfect chia microgreens aren’t about hustle—they’re about setting the tray up so it practically runs itself. Do the setup once, then spend 30 seconds a day and harvest in 6 days.
Most gardening advice assumes you have time, energy, and a green thumb. But what if you have none of those? What if you want fresh, nutrient-dense greens without the daily fuss? Here’s the truth: chia microgreens are the ultimate lazy gardener’s crop. They don’t need soil. They don’t need fancy lights. They barely need you. Set them up right on day one, and they’ll do the heavy lifting while you get on with your life.
This is your permission slip to be lazy—and still eat greens that cost $4 per ounce at the grocery store.
The one-time setup (10 minutes, then you’re done)
Your entire success hinges on this initial setup. Get it right, and the next six days are almost automatic.
Here’s what you need:
- A shallow tray (10×10 inches or similar, with drainage holes or a solid base for bottom-watering)
- Growing medium (paper towels, hemp mats, or coconut coir—no soil required)
- Chia seeds (1–2 tablespoons per tray)
- A spray bottle filled with clean water
- A humidity dome or plastic wrap (anything that traps moisture)
Lay your medium flat in the tray. Mist it thoroughly until it’s damp but not soaking. Sprinkle chia seeds evenly across the surface—they’ll form a gel coat when wet, so don’t worry about spacing. Mist the seeds lightly. Cover the tray with your dome or wrap. Place it somewhere room temperature and out of direct sunlight.
That’s it. Walk away.

The 30-seconds-a-day routine (days 1–3)
For the first three days, your only job is to vent and check moisture.
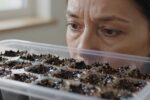
Once a day—morning or evening, your choice—lift the cover for 30 seconds. This prevents mold and lets out excess heat. While it’s open, check the medium. If it looks dry, give it a quick mist. If it’s still damp, leave it alone.
Replace the cover. Done.
Chia seeds are mucilaginous, meaning they create their own gel layer that holds moisture. This is why they’re so forgiving. Even if you forget a day, they’ll likely be fine. But that 30-second check keeps you in control without demanding your attention.
Day 3: the big move (uncover and let there be light)
On day three, you’ll see pale yellow-green shoots pushing up. This is your cue to remove the cover and move the tray into indirect natural light or under a grow light.
Don’t blast them with midday sun through a window—they’ll wilt. A spot near a north-facing window (in the Northern Hemisphere) or a few feet back from a bright window works perfectly. If you’re using a grow light, keep it 12–18 inches above the tray.
At this point, switch from top misting to bottom watering if your tray allows it. Pour a shallow layer of water (about ¼ inch) into the base or a second tray beneath your growing tray. Let the medium wick it up for 10–15 minutes, then drain any excess. This keeps the greens dry on top (preventing mold) while the roots stay hydrated.
If your tray doesn’t have drainage, stick with light misting once a day—just enough to keep the medium damp, not soggy.
Days 4–6: watch them explode
Between days four and six, chia microgreens will transform. They’ll green up, stand tall, and develop their first true leaves. You’ll do almost nothing during this phase.
Bottom-water or mist once a day. That’s it. No fertilizer needed. No trimming. No adjusting. The setup you did on day one is still carrying you.
By day six, your greens should be 2–3 inches tall, bright green, and ready to harvest. Some growers wait until day seven or eight for slightly larger leaves, but six days is the sweet spot for tenderness and mild flavor.
What ‘perfect’ looks like at harvest
Perfect chia microgreens are:
- Bright green with no yellowing
- Upright and firm, not limp or leggy
- 2–3 inches tall with visible cotyledon leaves (the first pair)
- Free of mold or off smells (a fresh, grassy scent is normal)
To harvest, use clean scissors and snip just above the medium. Rinse gently in cool water, spin or pat dry, and store in an airtight container lined with a paper towel. They’ll keep in the fridge for 3–5 days.
Use them on sandwiches, salads, smoothies, or as a garnish. They have a mild, slightly nutty flavor and a satisfying crunch.
The lazy gardener’s advantage: repeat with zero learning curve
Here’s the best part: once you’ve done this once, you’ve done it forever. The second tray takes the same 10 minutes of setup and the same 30 seconds a day. No new skills. No troubleshooting. No guesswork.
You can stagger trays every three days and have a continuous harvest. You can scale up to multiple trays without adding complexity. You can take a week off and start again with zero penalty.
This isn’t about becoming a gardener. It’s about outsmarcing effort. Chia microgreens grow fast, forgive mistakes, and reward laziness. They’re the closest thing to a plant that grows itself.
If you’ve been putting off growing your own food because it sounds like work, this is your entry point. Set it up once. Check it for 30 seconds a day. Harvest in six days. Repeat.
Perfect greens, zero guilt, and almost no effort. That’s the lazy person’s advantage.