You’ve probably seen the Instagram reels: lush trays of microgreens sprouting in just days, promising fresh greens year-round. But when you tried it yourself, you got a slimy, moldy mess instead. The difference between success and failure isn’t luck—it’s understanding three critical variables most tutorials skip.
Microgreens have surged in popularity as home gardeners look for fast, nutritious harvests that don’t require outdoor space or months of waiting. But the speed that makes them appealing also creates the perfect conditions for mold and bacterial slime if you don’t control moisture, airflow, and seed density from day one.
Why microgreens fail in the first 48 hours
Most mold problems start before you even see the first green shoot. When seeds are packed too tightly, covered with too much water, or left in a sealed environment, they create a warm, wet blanket that fungi love.
The three killers:
– Overwatering during the blackout phase (days 1–3)
– Poor air circulation around the tray
– Using dirty trays or contaminated soil
Commercial growers know that the blackout phase—when seeds are covered to encourage germination—is the riskiest window. Home growers often seal trays with plastic wrap or stack them in closed cabinets, trapping humidity and cutting off airflow. This is when spores multiply fastest.

The 6-day clean growth method
Getting a clean harvest in under a week requires reversing the common mistakes. Here’s the step-by-step system that prioritizes airflow and moisture control over speed alone.
Day 1: Soak and prep
Soak seeds for 8–12 hours in cool water. Drain thoroughly—seeds should be damp, not swimming. Use a clean tray with drainage holes, and fill with 1–1.5 inches of sterile seed-starting mix or coconut coir. Press the medium flat but don’t compress it.
Day 1 evening: Seed and mist
Scatter seeds evenly across the surface. Aim for coverage, not crowding—you should still see gaps of soil between seeds. Mist lightly with a spray bottle until the surface is damp, not puddled. Place a second tray on top as a weight (not sealed), and set in a spot with stable room temperature (65–72°F).
Days 2–3: Blackout with airflow
Check once daily. Lift the top tray for 30 seconds to allow air exchange. Mist only if the surface looks dry—most failures happen from misting too often here. The weight encourages strong stems, but the brief air exchange prevents mold.
Day 4: Uncover and light
Remove the top tray. Move the microgreens to bright indirect light or under a grow light (12–16 hours daily). You’ll see pale yellow shoots—they’ll green up fast. Water from the bottom by pouring water into the drainage tray, letting the soil wick it up for 10–15 minutes, then dumping the excess. Never water from above once they’re uncovered.
Days 5–6: Growth and harvest
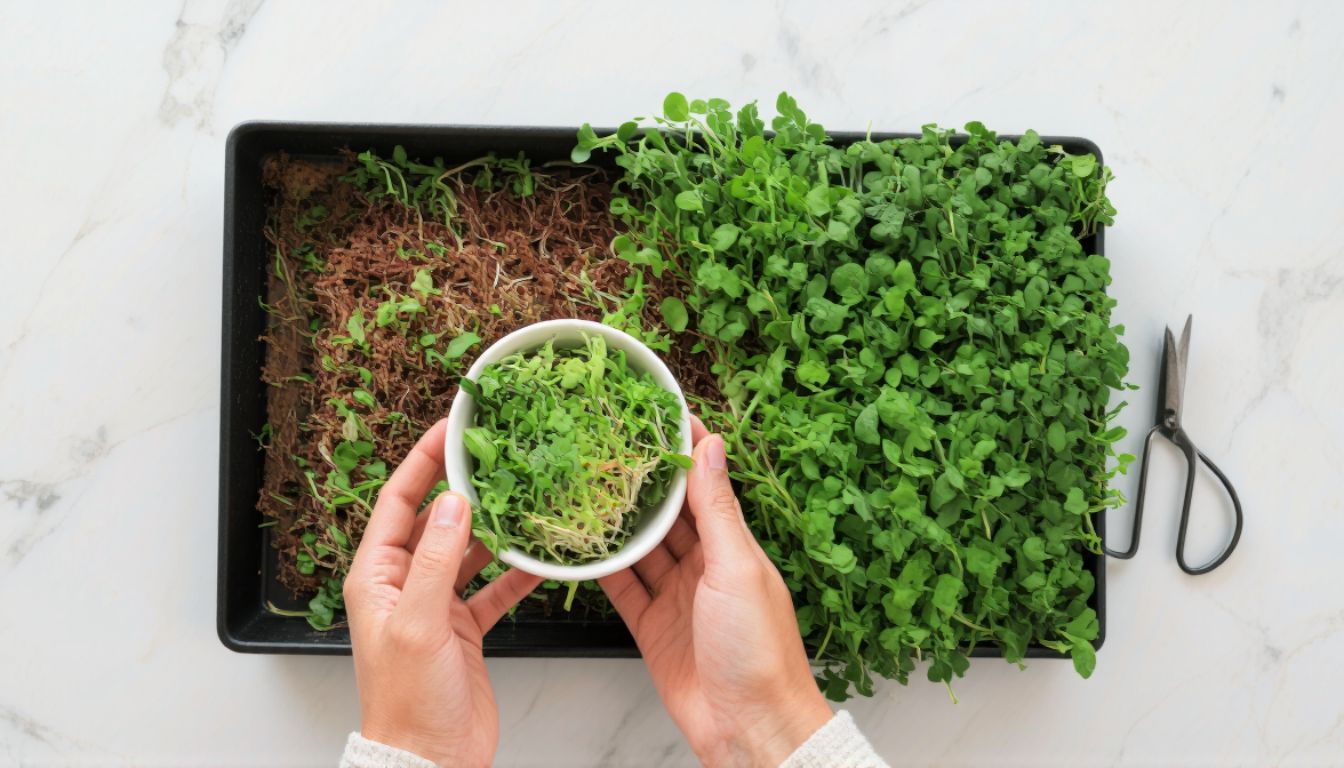
Greens will develop true leaves and vibrant color. Keep bottom-watering once daily, always discarding standing water. Harvest with clean scissors when greens are 2–3 inches tall, cutting just above the soil line.
The varieties that work best for speed
Not all microgreens grow at the same pace or resist mold equally well. For a reliable 6-day turnaround, stick with these proven fast growers.
Top performers:
– Radish (Daikon or China Rose): Spicy, crunchy, nearly foolproof. Germinates in 24 hours.
– Broccoli: Mild flavor, dense nutrition, strong against mold.
– Mustard: Peppery kick, fast germination, tolerates slight overwatering better than most.
– Arugula: Nutty and tender, ready in 6–7 days.
Avoid slow growers like beets, chard, or cilantro if you’re aiming for the 6-day window—they need 10–14 days and are more prone to mold during the longer blackout phase.

Troubleshooting the most common problems
White fuzz on seeds: Not always mold. Many seeds (especially brassicas) develop harmless root hairs that look fuzzy. True mold is gray, green, or black, and smells musty. Root hairs are white and odorless. If unsure, increase airflow and reduce misting.
Slimy stems or soil surface: This is bacterial rot, caused by overwatering or poor drainage. If it appears, discard the tray—don’t try to salvage it. Sterilize the tray with diluted bleach or hydrogen peroxide before reusing.
Leggy, pale greens: Too much heat or not enough light once uncovered. Move closer to a window or lower the grow light to 6–8 inches above the tray.
Uneven germination: Seed quality matters. Buy from reputable suppliers that sell specifically for microgreens, not garden planting. Old or improperly stored seeds have lower germination rates.
Why this method works when others don’t
The key difference is active moisture management instead of passive soaking. Most tutorials treat microgreens like a “set it and forget it” project. But in the first 72 hours, conditions change fast. Daily air exchange during blackout and switching to bottom watering after uncovering keeps the root zone moist while the foliage stays dry—exactly the opposite of what mold needs.
Commercial growers use fans, humidity monitors, and controlled environments. Home growers can achieve similar results with awareness and small adjustments. The 30-second daily check during blackout is the single most important habit.

Getting started this week
You don’t need expensive equipment. A basic kit includes:
– Two 10×20-inch seedling trays (one with drainage holes, one solid for bottom watering)
– A bag of organic seed-starting mix or coconut coir
– Microgreen seeds (start with radish or broccoli)
– A spray bottle
– A bright windowsill or inexpensive LED grow light
Total startup cost: under $30. Each tray yields 4–6 ounces of greens, enough for salads, sandwiches, or smoothies for a week. Once you dial in the method, you can stagger trays every two days for continuous harvest.
Start your first tray this weekend. By January 2, 2026, you’ll have your first clean harvest—and the confidence to grow microgreens year-round without the mold, slime, or frustration that stops most beginners cold.