I used to think microgreens were the easiest thing to grow—until I watched batch after batch turn into slimy, moldy disasters. After three failed attempts with sunflower shoots and two with broccoli, I threw in the towel. The promise of fresh, nutrient-dense greens in seven days felt like a cruel joke. Then a friend mentioned she’d been growing chia microgreens for months without a single failure. I was skeptical, but desperate enough to try one more time. What I discovered was a single overlooked step that changes everything.
The problem nobody talks about
Most microgreens guides tell you to soak seeds, spread them on soil, mist daily, and wait. That works beautifully for pea shoots and radish. But it’s a recipe for disaster with mucilaginous seeds like chia, basil, or flax.
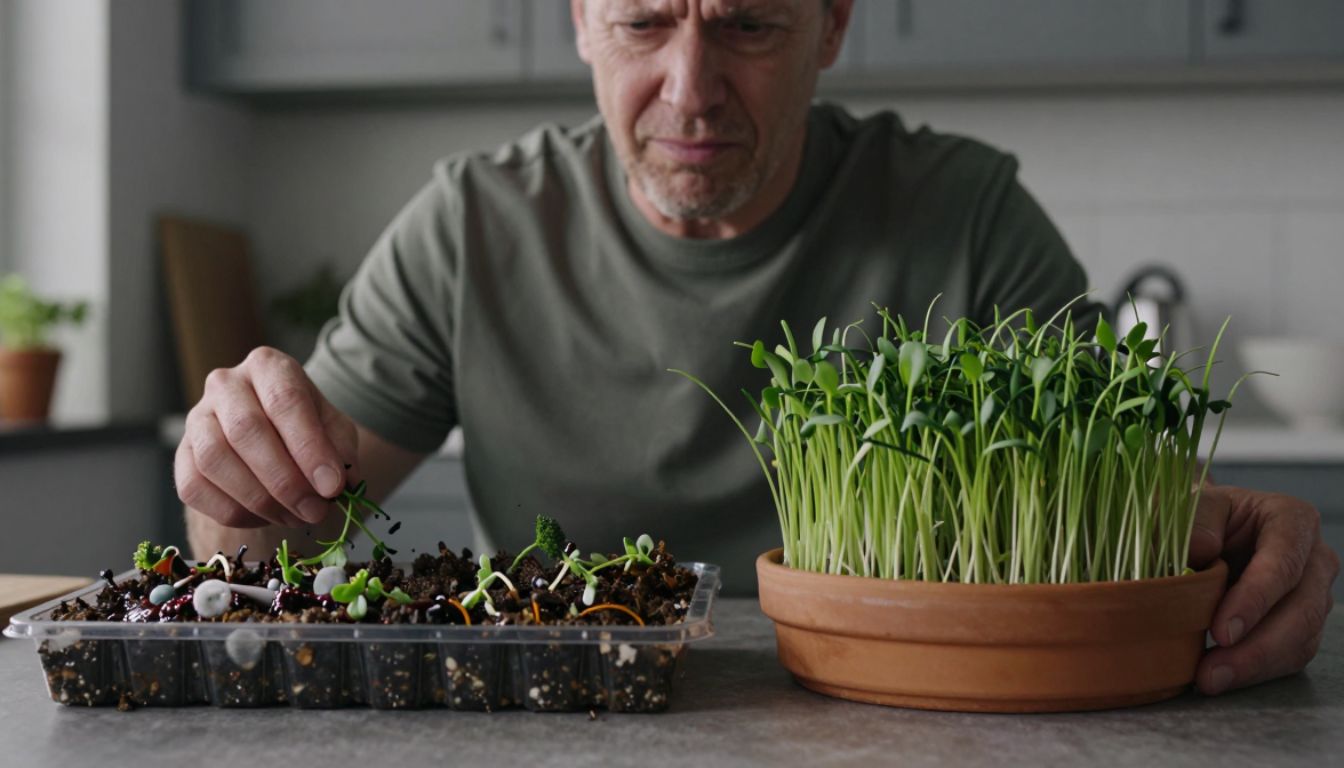
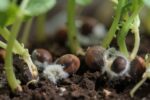
The moment chia seeds touch water, they release a thick gel coating. If you try to plant them the traditional way, that gel traps moisture against the seed hull, creating the perfect environment for mold and rot. Within 48 hours, you’ll see white fuzz creeping across your tray. By day four, the whole batch smells sour.
I didn’t know this. I assumed I was overwatering or that my trays weren’t clean enough. I bought new trays, switched growing mediums, adjusted my misting schedule—nothing worked. The slime always won.
The one chia trick that fixes everything
Here’s what finally worked: skip the soil entirely and use a terra cotta or unglazed ceramic plate.
Chia seeds don’t need soil to germinate. They need moisture and air circulation. A porous surface like unglazed terra cotta wicks away excess water while keeping the seeds hydrated. The gel coating still forms, but instead of trapping water, it anchors the seeds to the plate and allows roots to breathe.
Here’s the exact method:
- Soak your terra cotta plate in water for 10 minutes so it’s fully saturated.
- Sprinkle one tablespoon of chia seeds evenly across the wet surface. Don’t pile them—single layer only.
- Mist lightly with a spray bottle (2–3 pumps). You want the seeds damp, not swimming.
- Cover loosely with a clear lid or plastic wrap to hold humidity, but leave a small gap for airflow.
- Place in indirect light—no direct sun yet.
- Mist once daily for the first three days. After that, the roots will anchor and draw moisture from the plate.
By day two, you’ll see tiny white roots. By day five, you’ll have a dense mat of bright green shoots, ready to harvest.
Why this works when everything else fails
The terra cotta method solves three problems at once.
First, it prevents the waterlogged conditions that cause rot. The porous ceramic absorbs and releases moisture slowly, so seeds stay hydrated without drowning.
Second, it eliminates the need for soil, which can harbor mold spores and fungus gnats. Chia grows so fast that it doesn’t need nutrients from soil—it’s living off the energy stored in the seed.
Third, it makes harvesting effortless. When your greens are 2–3 inches tall, you simply cut them with scissors right above the gel layer. No rinsing dirt, no grit in your salad.
What to do if you don’t have terra cotta
You can also use:
- Unglazed ceramic saucers (the kind that sit under plant pots)
- Grow mats designed for mucilaginous seeds (hemp or coconut fiber)
- Paper towels layered in a shallow dish (budget option, but you’ll need to keep them consistently damp)
Avoid plastic trays, glass, or glazed ceramic. They don’t breathe, and you’ll end up back where you started.
How to avoid the three most common mistakes
Even with the right surface, a few missteps can still sabotage your harvest.
Mistake 1: Using too many seeds. Overcrowding blocks airflow and invites mold. One tablespoon per standard dinner plate is plenty. You want to see gaps between seeds when you first sprinkle them.
Mistake 2: Misting too much. Chia seeds need far less water than you think. If you see standing water pooling on the plate, you’ve overdone it. Blot gently with a paper towel.
Mistake 3: Harvesting too late. Chia microgreens are best between days 5 and 8. After that, they start to taste bitter and the stems get tough. Cut them when the first true leaves appear—those are the tiny serrated leaves that emerge after the initial rounded cotyledons.
What chia microgreens actually taste like
If you’ve never tried them, expect a mild, fresh, slightly tangy flavor—somewhere between sprouts and baby spinach. They’re not spicy like radish or mustard greens. They’re delicate, which makes them perfect for:
- Topping avocado toast or grain bowls
- Folding into scrambled eggs or omelets
- Layering into sandwiches or wraps
- Garnishing soups (add them at the end so they stay crisp)
They’re also one of the most nutrient-dense microgreens you can grow, packed with omega-3 fatty acids, fiber, calcium, and antioxidants.
Why I’m sticking with chia now
After years of chasing the perfect microgreens setup, I’ve finally found something that works every single time. No mold. No slime. No wasted seeds.
Chia is now my gateway green. It’s forgiving, fast, and doesn’t require any special equipment beyond a $5 terra cotta saucer. If you’ve been burned by microgreens in the past—or if you’re just tired of buying overpriced clamshells at the grocery store—this is the method to try.
Start small. One plate, one tablespoon of seeds, five days. By this time next week, you’ll be snipping fresh greens onto your lunch. And if it works as well for you as it did for me, you’ll wonder why anyone bothers with soil at all.