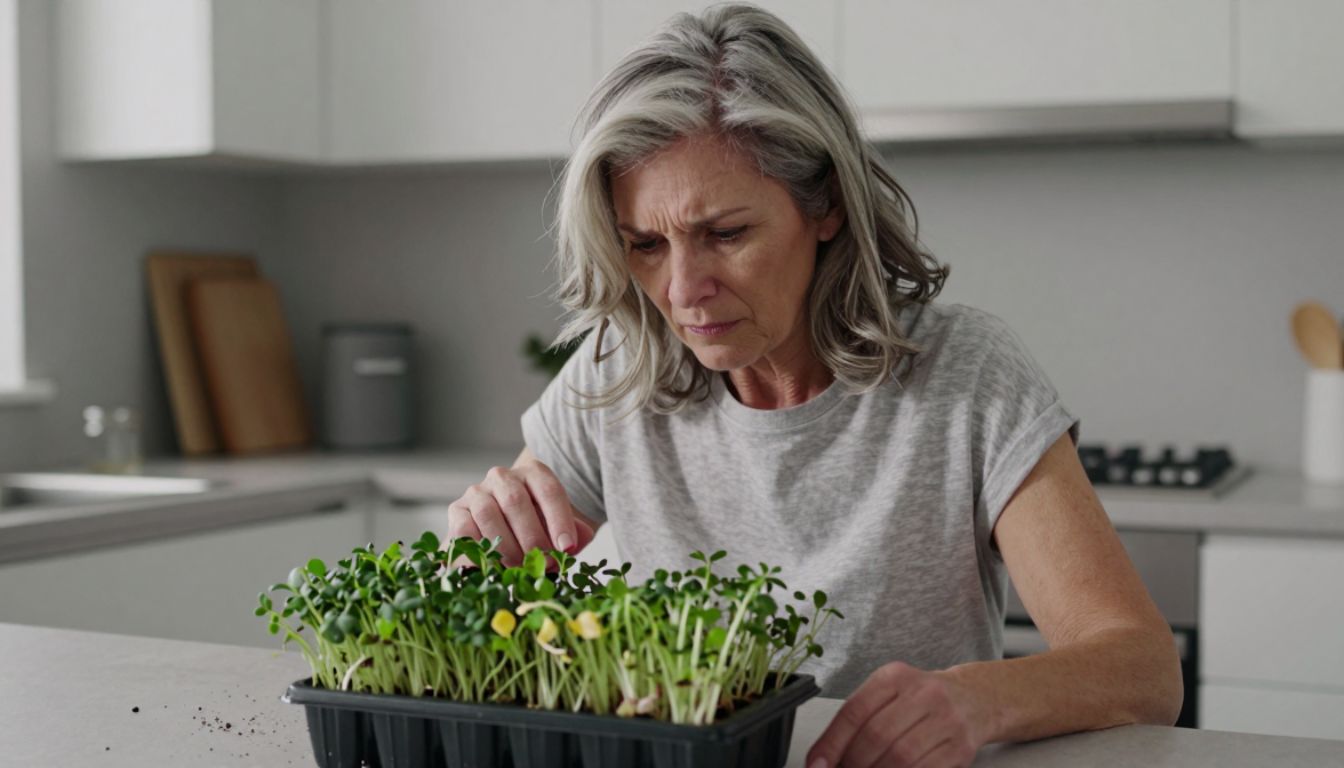
You soaked the seeds exactly 8 hours. You misted twice daily. You used the “right” tray, the “right” soil alternative, and kept everything at room temperature. Then on day three, you lifted the blackout dome and found a slimy, stinking mess instead of the lush green carpet every YouTube guru promised.
You’re not alone. Thousands of beginners are Googling “slimy microgreens” and “microgreens fail” right now, wondering what they did wrong. The truth? Most guides skip the three invisible killers that turn your setup into a bacteria incubator—even when you follow every step.
Why microgreens turn slimy (and it’s not your fault)
Slime isn’t a sign you lack a green thumb. It’s a biological alarm bell that one of three conditions tipped out of balance:
Poor air circulation. Seeds packed tight under a humidity dome create a low-oxygen zone. Beneficial microbes need oxygen; harmful bacteria thrive without it. That’s why your radish seeds smell like a swamp.
Overwatering or bottom-pooling. Even if you mist lightly, water can collect under the tray. Roots sitting in stagnant water for 12+ hours invite anaerobic bacteria—the kind that produce that signature slime coat.
Seed quality and storage. Old seeds or those stored in warm, humid conditions carry higher microbial loads. When you add water, you’re not just germinating seeds—you’re waking up everything on the seed coat.
Most guides tell you what to do. Almost none explain why these three factors matter more than the brand of tray you bought.

The 72-hour danger zone
Days 1 through 3 are when 90% of slime problems start. This is the blackout phase: seeds are germinating under a cover, moisture is high, and you’re checking once or twice a day at most.
During this window, the environment is perfect for bacterial bloom. If your setup has even a small flaw—a tray with no drainage holes, a dome that seals too tight, seeds planted too thick—you won’t see the problem until it’s too late.
By day three, you’ll either have healthy, white roots and emerging shoots, or a sticky, foul-smelling mat. There’s rarely an in-between.
What actually works (the invisible fixes)
Here’s what turned my own failures around, and what I now see recommended by commercial growers—not lifestyle bloggers.
Use a fan, even during blackout. Set a small clip-fan to oscillate gently near (not directly on) your trays. This breaks up the stagnant air pocket under the dome and reduces surface moisture. Run it 24/7 on low.
Drainage + elevation. Your growing tray must have drainage holes. Set it inside a slightly larger tray so excess water can escape and air can reach the bottom. Never let the tray sit in pooled water.
Rinse seeds before planting. Soak seeds in cool water for the recommended time, then drain and rinse them twice under running water. This washes away dust, debris, and some surface bacteria. It’s a 90-second step most guides never mention.
Thin your seeding density. Beginners overpack trays, thinking more seeds = more yield. In reality, crowding reduces airflow at the soil line and traps moisture between stems. Use about 10–12 grams of small seeds per 10×20 tray as a starting point.
Hydrogen peroxide rinse (optional). Some growers add 1 tablespoon of 3% hydrogen peroxide per cup of water during the final seed rinse. This reduces microbial load without harming germination. It’s not required, but it’s cheap insurance.
Check twice daily during blackout. Lift the dome, let fresh air in for 30 seconds, check for pooling, then replace. This small habit prevents the sealed-tomb effect.

What to do if slime already started
If you catch it early—day 2 or early day 3—you may be able to salvage the tray.
Remove the dome immediately and increase airflow. If only a small section is slimy, use a spoon to scoop out that area (seeds, roots, and all). Reduce watering to a light mist once daily and monitor closely.
If more than 25% of the tray is affected, or if the smell is strong, toss it. Trying to save a badly contaminated tray wastes time and risks cross-contaminating your next batch. Compost it, sanitize the tray with diluted bleach or hydrogen peroxide, and start fresh.
The checklist no one gave you
Before you start your next tray, run through this:
- Seeds stored in a cool, dry place (not a humid garage or sunny windowsill)
- Tray has drainage holes
- Growing medium is lightly pre-moistened, not soaking wet
- Seeds rinsed twice after soaking
- Seeding density allows you to see gaps between seeds
- Blackout dome has small air vents or is propped slightly open
- Fan running on low nearby
- Tray elevated so air reaches the bottom
- You’ll check and vent the dome twice daily
This checklist takes 5 extra minutes. It prevents 95% of beginner failures.

Why the guides don’t tell you this
Most online microgreens content is written to sell kits, not to troubleshoot real problems. The videos show perfect trays under perfect conditions. They skip the “boring” details—airflow, drainage, seed prep—because they assume you’ll figure it out.
You shouldn’t have to. Growing microgreens is simple once you understand the biology, not just the steps.
What to try next
Start with one small tray using these fixes. Choose an easy variety like sunflower or pea shoots—they’re more forgiving than radish or broccoli.
Measure your seed weight. Rinse thoroughly. Use a fan. Check daily. Keep notes on what you see each day.
By day 7, you’ll either have a harvestable tray or clear feedback on what needs adjusting. Either way, you’ll know more than 90% of beginners who just keep repeating the same slime cycle.
Microgreens are one of the fastest, highest-value crops you can grow indoors. But only if you survive the first 72 hours. Now you know how.