Most chia microgreens guides skip the one thing that makes the difference: a windowsill setup that stays humid enough to sprout, but airy enough to stay clean. This is the 6-day method that actually works—repeatably.
Chia seeds are notoriously fussy. They turn gelatinous when wet, which invites slime and mold if your setup traps too much moisture. But starve them of humidity, and germination stalls. The secret isn’t exotic gear or fancy grow lights—it’s balancing airflow and moisture on a simple windowsill. Follow this timeline, and you’ll harvest crisp, clean greens every single cycle.
What you need for windowsill success
Keep it minimal. You need a shallow tray (recycled takeout containers work perfectly), a thin layer of growing medium (coconut coir, paper towels, or even a damp cloth), a spray bottle for misting, and a vented cover for the first two days.
The cover is critical—but it can’t be airtight. Use a lid propped open with a toothpick, or drape a damp tea towel loosely over the tray. This traps humidity while letting stale air escape. That tiny gap prevents the slimy disaster most beginners face.
Your windowsill should get indirect light—no harsh afternoon sun. A north-facing window works beautifully in the US during winter. If your sill is drafty, pull the tray back six inches. Cold air shocks seedlings and slows germination.

Day 0–2: Darkness and the moisture sweet spot
Scatter chia seeds evenly over your damp medium. Don’t pile them—one seed layer only. Press them gently so they make contact, but don’t bury them.
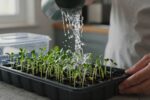
Mist lightly until the medium is damp, not soaked. Chia seeds should look glossy and slightly swollen within an hour. If you see puddles, you’ve overdone it.
Cover the tray and place it in a dark spot or cover it with a towel. Darkness triggers germination. Check once on day 1—if the surface looks dry, give it one quick mist. The medium should feel like a wrung-out sponge.
By the end of day 2, you’ll see tiny white roots and the first hint of green. This is your cue to move to light.
Day 3: Uncover and introduce indirect light
Remove the cover and move your tray to the windowsill. The seedlings are fragile now, so avoid direct sun—it’ll scorch them or dry the medium too fast.
Here’s the daily vent step most guides ignore: twice a day, lift the tray and tilt it gently to let any trapped moisture evaporate from the bottom. This takes five seconds and prevents the anaerobic pockets that cause slime.
Mist lightly once in the morning if the surface looks dry. The roots are establishing now, so they’ll start pulling moisture from below.
Day 4–6: Bottom watering and harvest readiness
By day 4, your microgreens will have their first true leaves—tiny ovals above the seed leaves. Switch to bottom watering if possible: pour a shallow layer of water into a second tray and set your growing tray inside for five minutes, then remove. This keeps the leaves dry and reduces mold risk.
If you don’t have a second tray, mist from the side, aiming at the base of the stems, not the leaves.
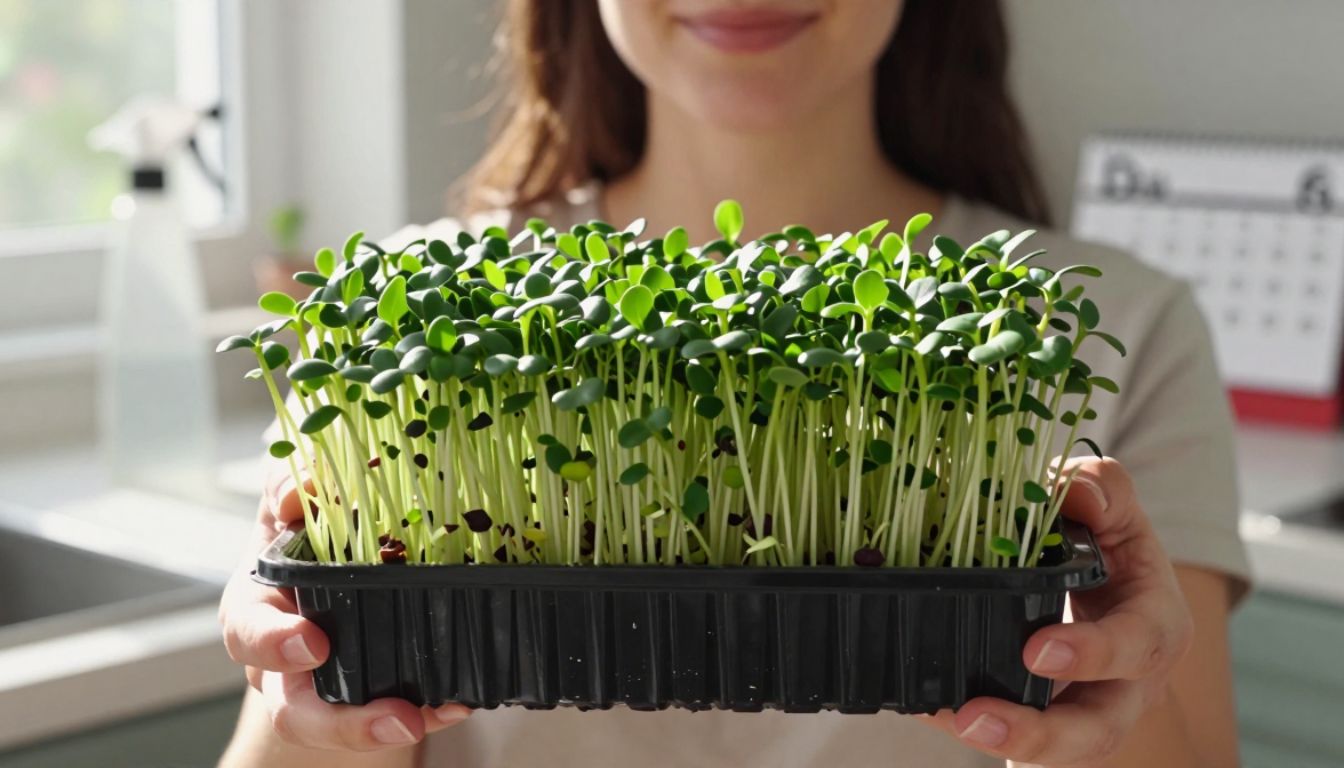
By day 6, your chia microgreens should be 1.5 to 2 inches tall, with vibrant green leaves and crisp stems. Taste one—if it’s tender and slightly nutty, you’re ready to harvest. Use clean scissors and cut just above the medium. Rinse gently and pat dry.
Don’t wait past day 7. Chia microgreens get leggy and bitter fast, especially in low light.
Troubleshooting the most common problems
Slime on the medium or seeds: Too much water, not enough airflow. Next cycle, mist less and prop your cover open wider. Tilt the tray twice daily to release moisture.
White fuzz (mold): Usually harmless root hairs, but if it smells musty, it’s mold. Increase airflow immediately. Remove the cover earlier—try day 1.5 instead of day 2.
Leggy, pale greens: Not enough light. Move the tray closer to the window or add a few more hours of indirect sun. Legginess also happens if you keep them covered too long.
Patchy germination: Uneven moisture or old seeds. Make sure your medium is uniformly damp before seeding. Chia seeds lose viability after a year—buy fresh if germination drops below 70%.
Dry, crispy edges: Your windowsill is too drafty or the air is too dry. Move the tray back from the window or mist an extra time mid-day.
Set up your repeat cycle
Once you nail the first batch, start a second tray on day 3 of your first cycle. This gives you a continuous harvest every three days—perfect for salads, smoothies, or garnishes.
Store harvested microgreens in a sealed container lined with a paper towel. They’ll stay crisp in the fridge for up to five days. Don’t wash them until you’re ready to use them—moisture shortens shelf life.
The beauty of this method is its repeatability. Same windowsill, same six days, same clean results. No guessing, no mold, no slime. Just fresh greens, cycle after cycle, with nothing more than a tray and a spray bottle.