I set up my chia microgreens tray on a Tuesday morning, misted it carefully, covered it with a humidity dome, and placed it on my kitchen windowsill. Then life happened. By Thursday evening, I realized I hadn’t checked it once—no misting, no peeking, nothing. I braced myself for a tray of shriveled brown stems. Instead, I lifted the dome to find a carpet of bright green shoots, healthier than some batches I’d fussed over daily.
That moment taught me more about microgreens than a dozen tutorials ever did. Missing two days didn’t kill my chia—it revealed what actually controls success: how well your growing medium holds moisture, and how much airflow your setup allows. Here’s exactly what happened, why it worked (or why it might not for you), and how to rescue a tray you’ve accidentally neglected.
What the tray looked like: Day 0 vs Day 2
On Day 0, I soaked a hemp growing mat for ten minutes, drained the excess, and scattered two tablespoons of chia seeds evenly across the surface. I misted lightly, covered the tray with a clear plastic dome, and set it in indirect light near my east-facing window. The temperature hovered around 68°F, typical for early January indoors in the US.
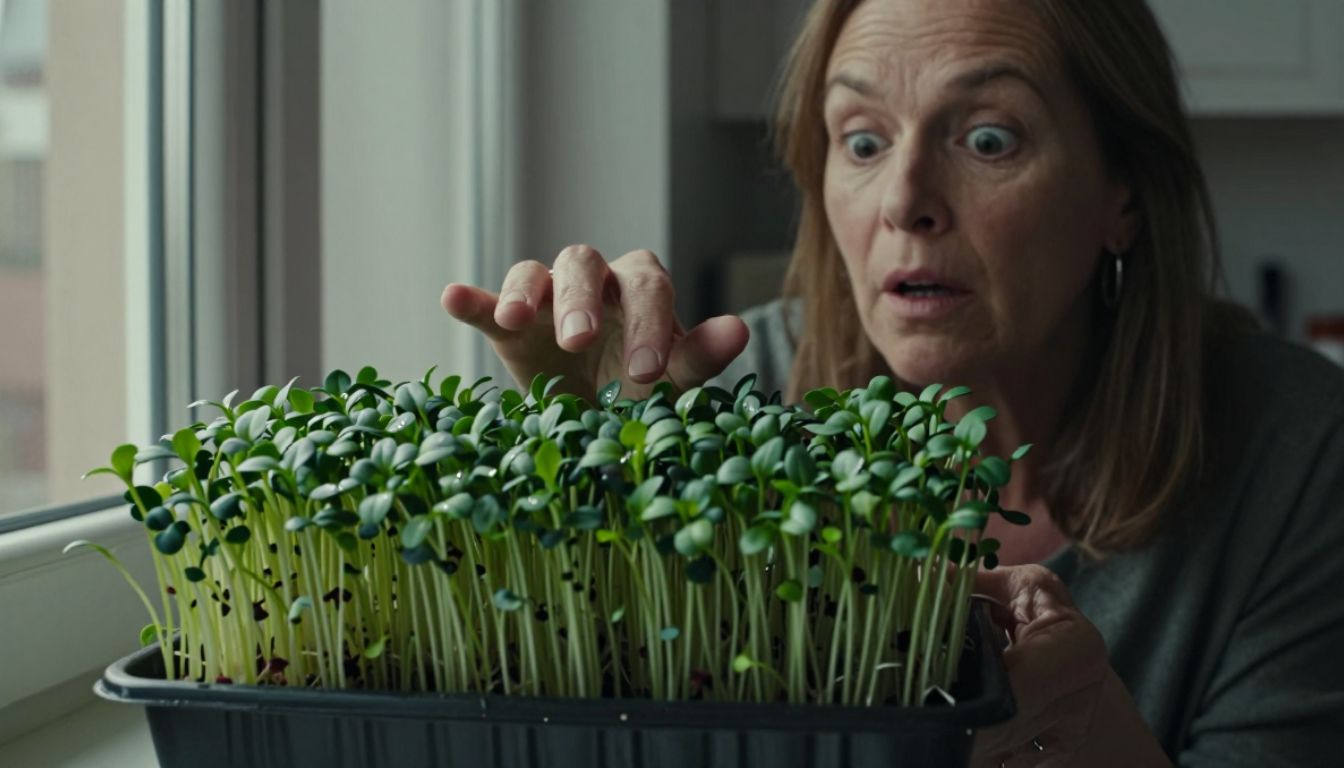
By Day 2—the evening I finally remembered—I expected disaster. Instead:
- The seeds had germinated beautifully. Tiny white roots anchored into the mat, and pale green cotyledons were just starting to unfold.
- The mat was still damp to the touch. Not soaking wet, but nowhere near dry.
- Condensation clung to the inside of the dome. A thin film of moisture covered the plastic, proof that the humidity trap was doing its job.
- No mold, no off smell. The tray smelled fresh and earthy.
If I’d been growing on a shallow dish with paper towels—my old method—this story would have ended differently. The paper would have dried out completely, and the seeds would have stalled or died.
Why it didn’t die: Moisture retention and cover timing
Chia microgreens are surprisingly forgiving, but only if your setup does two things well: holds moisture and manages airflow.
Moisture retention is the hero here. Hemp mats, coconut coir, and even dense felt pads act like sponges. They absorb water during the initial soak and release it slowly over 48 to 72 hours. Chia seeds are mucilaginous—they form a gel-like coating when wet—which helps them stay hydrated even when the surface feels dry.
Paper towels, on the other hand, dry out in 12 to 18 hours under a dome, and faster without one. If you’re using paper towels and you miss a watering, your seeds will likely shrivel.
The dome made all the difference. By trapping humidity, it created a self-sustaining microclimate. The condensation cycled back into the mat, keeping the seeds moist without any input from me. But here’s the catch: if I’d left the dome on for another two days, mold would have crept in. Chia needs airflow once the cotyledons open, usually around Day 3 or 4.
My accidental neglect happened during the germination window—the 48-hour period when seeds want darkness, warmth, and consistent moisture, but not much air. If I’d forgotten to water on Day 5 or 6, when the greens were tall and the dome was off, the outcome would have been wilted stems and crispy leaves.
Rescue checklist: What to do if you skip a day (or two)
If you’ve forgotten your microgreens, don’t panic. Here’s how to assess and recover:
Step 1: Check the mat or soil. Press your finger gently into the growing medium. If it feels damp or cool, you’re likely fine. If it’s bone dry and the seeds look shriveled, proceed to Step 2.
Step 2: Re-mist or bottom-water immediately. For seeds still in the germination phase (Day 0 to 3), mist the surface lightly with a spray bottle. For greens that are already 1 to 2 inches tall, bottom-water by pouring a quarter-inch of water into the tray and letting the mat wick it up for 10 minutes. Dump any excess.
Step 3: Vent or remove the dome. If you’re past Day 3 and the dome is still on, crack it open or remove it entirely. Stale, humid air invites mold. If you see white fuzz on the mat (not on the roots—root hairs are normal), increase airflow and reduce moisture.
Step 4: Remove clumps of dead or moldy seeds. Use tweezers or your fingers to pluck out any seeds that didn’t germinate or patches that smell sour. This prevents rot from spreading.
Step 5: Decide whether to restart. If more than half the tray is dead or moldy, it’s faster to compost it and start fresh. If most seeds sprouted and look green, keep going—they’ll catch up with proper watering.
Prevent it next time: The set-and-forget setup tweak
You don’t need to babysit microgreens, but you do need a setup that tolerates your schedule. Here’s how to build one:
Use a moisture-retentive mat. Hemp, coconut coir, or burlap pads hold water far longer than paper towels. Soak them thoroughly before seeding.
Cover during germination, then vent. Keep the dome or a damp towel over the tray for the first 48 to 72 hours. Once you see green cotyledons, crack the cover or remove it entirely.
Bottom-water instead of misting. After Day 3, pour water into the tray and let the mat soak it up. This method is faster, more consistent, and forgiving if you miss a day—the mat acts as a reservoir.
Set a phone reminder. A simple alarm every 24 hours (or every 48 hours during germination) keeps you on track without constant vigilance.
Choose low-maintenance varieties. Chia, sunflower, and pea shoots tolerate missed waterings better than delicate greens like arugula or mustard, which wilt quickly.
If you’re growing on a windowsill in winter (like I am in early 2026), the cooler indoor temps and lower light intensity actually work in your favor. The tray dries out more slowly than it would in July, giving you a wider margin for error.
Microgreens can handle more than you think—with the right base
My two-day lapse didn’t ruin the tray because the foundation was solid: a water-holding mat, a humidity dome during germination, and a cool, stable environment. The chia seeds did what they’re designed to do—germinate and grow—without me hovering.
This experiment shifted my mindset. Instead of treating microgreens like fragile houseplants that need daily attention, I now see them as a low-maintenance windowsill crop that thrives on good setup, not constant fussing. If you forget to water for a day or two during germination, your tray will likely survive. If you forget during the growth phase (Day 4 onward), you have a 24-hour window to rescue it before damage sets in.
The real lesson? Moisture retention and airflow matter more than a rigid watering schedule. Get those two factors right, and your microgreens will forgive a lot. Whether you’re a beginner testing the waters or a busy grower juggling too many trays, a forgiving setup means you can grow fresh greens without the guilt of missing a day.
If you’ve been putting off starting microgreens because you’re worried you’ll forget to water them, this is your sign. Set up a tray with a good mat, cover it for the first two days, and see what happens. You might be surprised how little hand-holding they actually need.