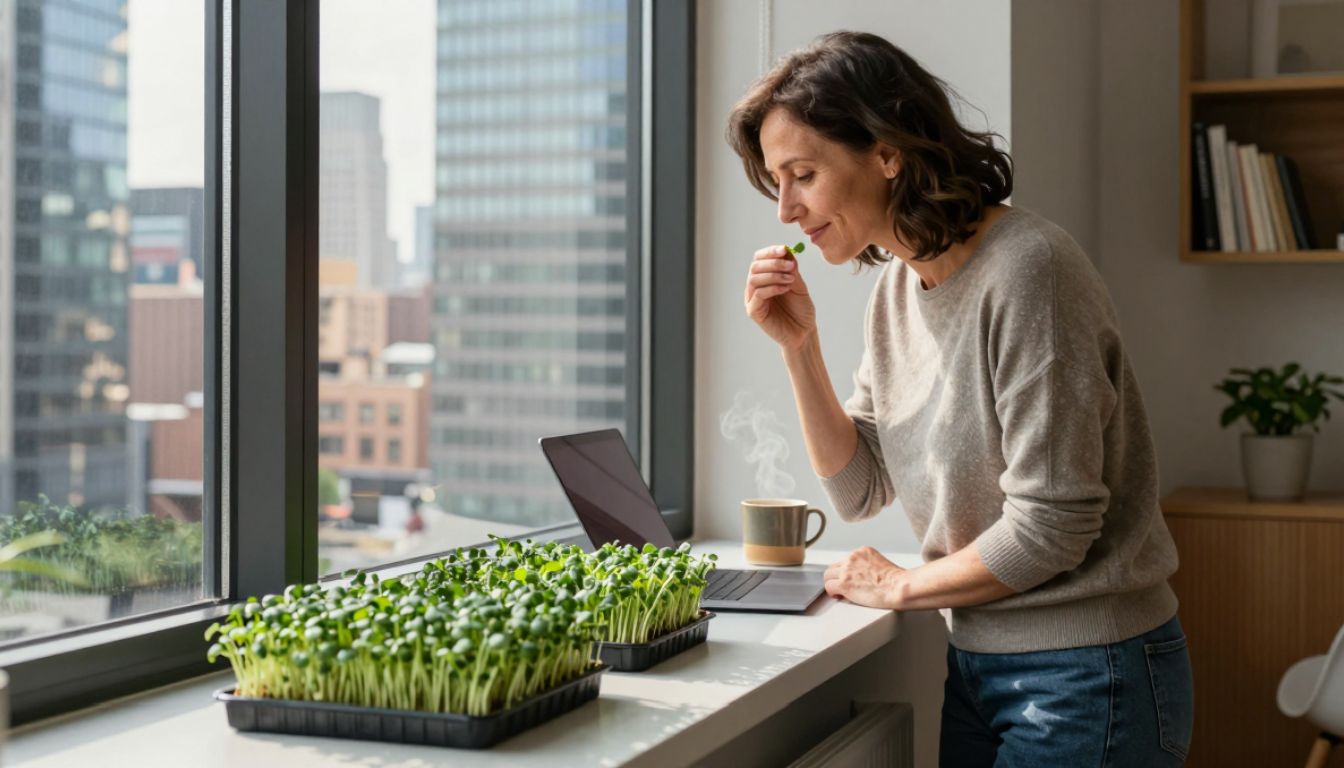
If you live in an apartment, you don’t need more space—you need a repeatable system. Your windowsill can produce steady microgreens with one tray cycle every few days, even in winter.
Urban dwellers face a familiar frustration: the desire for fresh, homegrown greens without the luxury of a backyard. But the truth is, you already have everything you need. That south-facing windowsill collecting dust? It’s a microgreen farm waiting to happen. No grow lights, no expensive setup, no green thumb required—just a simple rhythm that fits into the gaps of city life.
Why windowsills are perfect for microgreens
Microgreens thrive in conditions that apartments naturally provide. Unlike full-sized vegetables that demand deep soil and months of care, microgreens are harvested within 7 to 14 days of planting. They need only a few inches of growing medium, modest light, and consistent moisture.
Windowsills offer three critical advantages. First, they provide natural light without the cost or complexity of artificial setups. Even winter sun in northern climates delivers enough energy for fast-growing greens. Second, they force you into a routine—you walk past that window multiple times a day, making it easy to check moisture and ventilation. Third, they’re convenient. Harvest happens at arm’s reach, no trek to a community garden required.
The key is understanding that microgreens aren’t trying to become full plants. You’re harvesting them at their nutritional peak, right after the first true leaves appear. This short cycle means your windowsill doesn’t need to compete with a farm field. It just needs to be consistent.
The two-tray cadence: your production system
Most beginners start one tray, harvest it, then wait another week or two to start again. That creates a feast-or-famine cycle. The smarter approach is staggered planting.
Here’s how it works. Start your first tray today. On Day 3 or Day 4, before the first tray is even halfway grown, start a second tray. By the time you harvest the first tray around Day 10, the second tray is already halfway through its growth cycle. Harvest that one a few days later, and immediately start a new tray to replace it.
This two-tray rotation creates a continuous harvest. You’re never without fresh greens, and you’re never overwhelmed by too much at once. Each tray produces enough for salads, sandwiches, and garnishes for about three to four days—perfectly timed for the next harvest.
You don’t need a dozen trays. Two standard 10×20-inch seed trays fit comfortably on most windowsills. If your sill is narrow, use smaller containers—even repurposed takeout containers with drainage holes work.
Start with chia: the most forgiving crop
If you’ve never grown microgreens before, chia seeds are your best entry point. They’re nearly impossible to mess up.
Chia doesn’t require soil. It grows beautifully on a damp paper towel, a thin layer of coconut coir, or even a hydroponic mat. The seeds develop a mucilaginous coating when wet, which keeps them moist and anchored. This means you can’t accidentally underwater them as easily as other seeds.
Chia microgreens are ready to harvest in about 7 to 10 days. They have a mild, slightly nutty flavor and a satisfying crunch. They’re also packed with omega-3 fatty acids, fiber, and protein—nutritional density that rivals mature vegetables.
To plant chia, spread seeds evenly across your damp growing medium. Don’t bury them; just press them gently into contact with the surface. Mist lightly, cover with a humidity dome or another tray for the first two days, then uncover and place on your windowsill. Mist once or twice a day, and watch them explode upward.
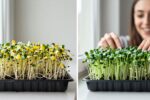
Once you’ve mastered chia, branch out to broccoli, radish, or sunflower microgreens. Each has its own flavor profile and growing quirks, but the core process remains the same.
Simple rules that prevent failure
Most microgreen failures come down to three mistakes: overwatering, poor airflow, and harsh direct sun.
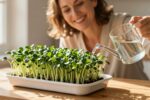
Don’t flood your trays. Microgreens need consistent moisture, but they don’t want to sit in water. Soggy roots invite mold and rot. Use a spray bottle to mist the surface, or water from the bottom by pouring a small amount of water into the tray and letting the growing medium wick it up. If you see standing water, tip the tray to drain it.
Vent daily. Even if you’re using a humidity dome, remove it for a few minutes each day to let fresh air circulate. Stagnant, humid air is a breeding ground for mold. Once your seeds have germinated and the greens are an inch tall, remove the dome entirely.
Avoid harsh direct sun. Yes, microgreens need light, but intense midday sun through glass can scorch delicate leaves. If your windowsill gets blazing afternoon sun, move trays back a few inches or use a sheer curtain to diffuse the light. Bright, indirect light is ideal. North-facing windows work fine; growth will just take a day or two longer.
Temperature matters less than you’d think. Most microgreens tolerate a wide range, from 60°F to 75°F. If your apartment is comfortable for you, it’s comfortable for them.
What you actually need to start
The beauty of windowsill microgreens is the low barrier to entry. You don’t need a shopping spree.
Here’s the essentials list:
- Two shallow trays (10×20 inches or smaller)
- Growing medium (coconut coir, seed-starting mix, or paper towels for chia)
- Seeds (chia, broccoli, or radish to start)
- Spray bottle for misting
- Optional humidity dome (or just use another tray flipped upside down)
Total cost: under $20 to $30 if you’re starting from scratch. Many of these items are reusable for months.
Skip the fancy kits marketed to urban gardeners. They’re often overpriced and unnecessary. A simple tray, a bag of seeds, and a handful of coir will outperform any gadget.

Your windowsill is a farm now
The shift from “I wish I could grow something” to “I harvest fresh greens twice a week” happens faster than you expect. It’s not about having more space. It’s about recognizing the space you already have and using it with intention.
A two-tray cadence on a windowsill produces roughly 4 to 6 ounces of microgreens per week—enough to elevate every meal without a trip to the farmers market. You’ll stop buying those overpriced plastic clamshells of greens that wilt in your fridge. You’ll start thinking in cycles: seed, water, harvest, repeat.
This is what a microgreen farm looks like in 2026. No backyard, no problem. Just a ledge, two trays, and a rhythm that fits your life.
Start your first tray this weekend. By mid-January, you’ll be harvesting. By February, you’ll wonder why you waited.