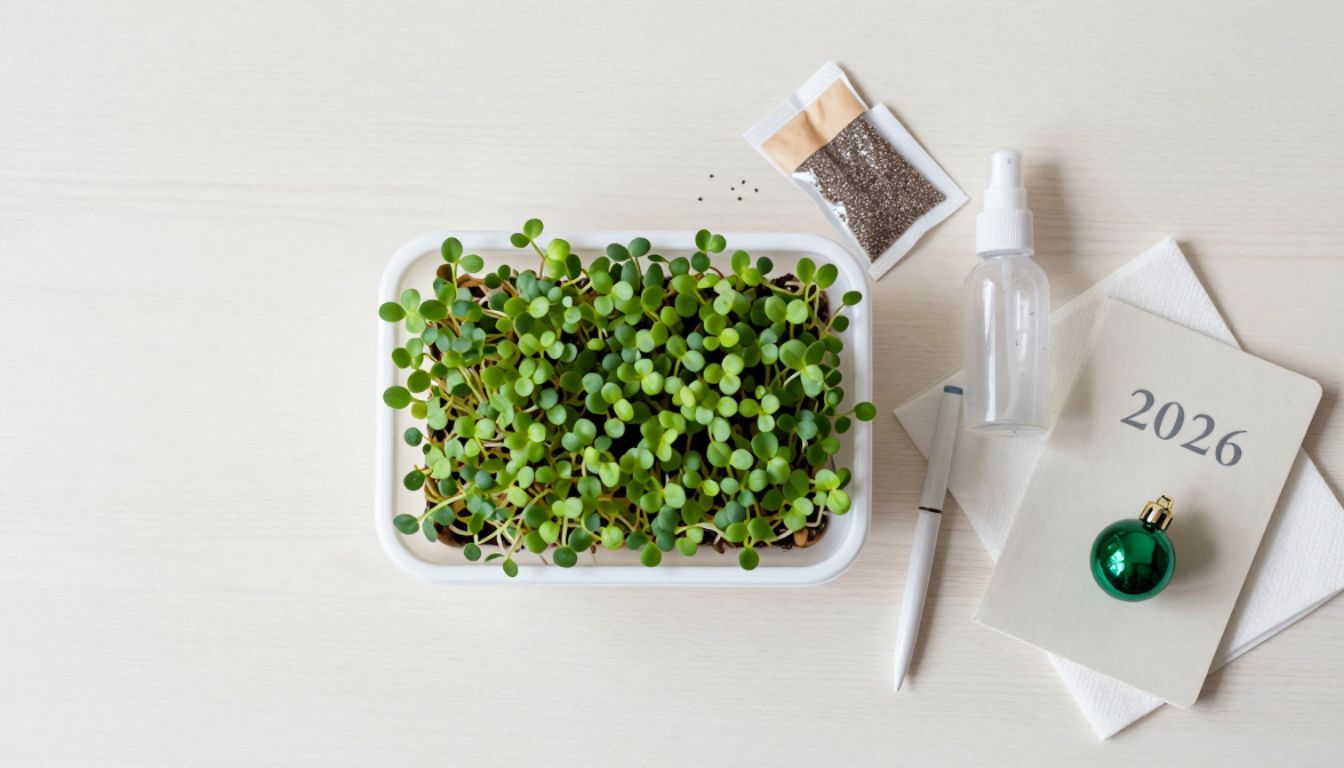
You can skip the gym membership, the meal-prep marathon, and the guilt-laden resolution list. This January, the easiest win for your health sits on a sunny windowsill and delivers visible, edible results in six days.
Chia microgreens are the ultimate anti-resolution self-care project. No soil, no fancy equipment, no green thumb required. Just three simple steps, a shallow tray, and a packet of chia seeds stand between you and a steady supply of nutrient-dense greens all winter long. While the rest of the country debates which detox to try, you’ll be snipping fresh, peppery greens onto your morning eggs.
Why chia microgreens are the perfect New Year starter
Most January habits fizzle by mid-month because they demand too much, too soon. Chia microgreens flip that script. They grow fast, fail rarely, and reward you with something tangible before your motivation has a chance to wane.
Unlike traditional gardening, microgreens don’t need outdoor space or even potting soil. Chia seeds are mucilaginous, meaning they form a gel when wet and cling to any surface. That makes them ideal for hydroponic setups—no mess, no bugs, no heavy bags of compost cluttering your apartment.
From a nutrition standpoint, microgreens pack a punch. Research shows that young greens can contain up to 40 times more vitamins and antioxidants than their mature counterparts. Chia microgreens specifically deliver omega-3 fatty acids, fiber, protein, calcium, and a satisfying crunch. They’re a winter green that doesn’t wilt under indoor conditions, and they thrive in the low-light months when outdoor gardens lie dormant.
Best of all, they’re ready to harvest in less than a week. That’s faster than most people can stick to a new habit, which means you get your dopamine hit right when you need it most.

The 3-step setup (seriously, that’s it)
You don’t need a tutorial marathon or a shopping spree. Here’s the entire process:
Step 1: Choose your container
Grab a shallow tray, a pie dish, or even a repurposed takeout container. It should be about 1 to 2 inches deep with drainage holes or a way to pour off excess water. If you’re using something without holes, just be mindful not to oversaturate.
Step 2: Prep your growing medium
Chia seeds don’t need soil. Use a hydroponic mat, paper towels, or even a thin layer of coconut coir. Dampen the medium thoroughly, but don’t leave it swimming in water. The goal is moist, not soggy.
Step 3: Scatter and mist
Sprinkle chia seeds evenly across the surface—aim for dense coverage, but not overlapping. Mist lightly with a spray bottle. Within hours, the seeds will form a gel coating and stick in place. Cover the tray loosely with a lid or plastic wrap to hold in humidity.
That’s it. No transplanting, no thinning, no second-guessing.
The 6-day timeline (what to expect)
Days 1–2: The seeds swell and form a gel. Keep them covered and mist once or twice daily. You’ll see tiny white roots emerging by day two.
Days 3–4: Green shoots appear. Remove the cover and move the tray to a bright windowsill (south-facing works best in winter). Keep misting to prevent drying out.
Days 5–6: The greens grow tall, unfurl their first true leaves, and turn a vibrant green. They’re ready to harvest when they reach 1 to 2 inches tall and have developed their first set of leaves.
Harvest by snipping just above the root line with clean scissors. Rinse gently, pat dry, and use immediately or store in the fridge in a breathable container for up to three days.

How to use your windowsill harvest
Chia microgreens have a mild, slightly peppery flavor that works in nearly any dish. Here are the easiest ways to incorporate them:
- Morning boost: Top scrambled eggs, avocado toast, or a smoothie bowl.
- Lunch crunch: Layer into sandwiches, wraps, or grain bowls.
- Dinner garnish: Sprinkle over soups, pasta, roasted vegetables, or grilled fish.
- Snack upgrade: Mix into hummus, guacamole, or cream cheese spreads.
Because they’re so delicate, add them at the end of cooking or use them raw to preserve their nutrients and texture.
Troubleshooting (the three most common hiccups)
Problem 1: Mold or funky smell
This usually means too much moisture and not enough airflow. Remove the cover earlier (by day 2), increase ventilation, and mist less frequently.
Problem 2: Leggy, pale greens
Not enough light. Move the tray closer to a window or add a small grow light. Chia microgreens need at least 4 to 6 hours of bright, indirect light daily.
Problem 3: Seeds won’t germinate
Old seeds lose viability. Buy fresh chia seeds from a reputable source (health food stores or online seed suppliers). Avoid chia meant for smoothies—look for seeds labeled for sprouting or microgreens.
Why this beats every other January habit
Resolutions fail because they’re vague, distant, and punishing. “Eat healthier” is an abstraction. “Harvest fresh greens from my windowsill on January 6” is a win you can see, taste, and repeat.
Chia microgreens give you a feedback loop that most habits lack. You water, you watch, you harvest, you eat. The cycle is short enough to stay engaging and forgiving enough for beginners. And because each tray takes less than a week, you can stagger plantings and enjoy a continuous supply all winter.
This is the kind of self-care that doesn’t require willpower—it requires a spray bottle and a sunny spot. No guilt, no pressure, just greens.
Your next steps
If you’re reading this on New Year’s Eve or New Year’s Day, you’re perfectly positioned to start your first tray today and harvest by January 6. Here’s your action plan:
- Gather supplies: Shallow tray, paper towels or hydroponic mat, chia seeds (1–2 tablespoons per tray), spray bottle.
- Set up your tray using the 3-step method above.
- Mark your calendar for day 6—that’s your harvest date.
- Start a second tray on day 3 or 4 so you never run out.
By mid-January, while others are abandoning their resolutions, you’ll be clipping fresh greens and planning your next planting. That’s a New Year win worth celebrating.