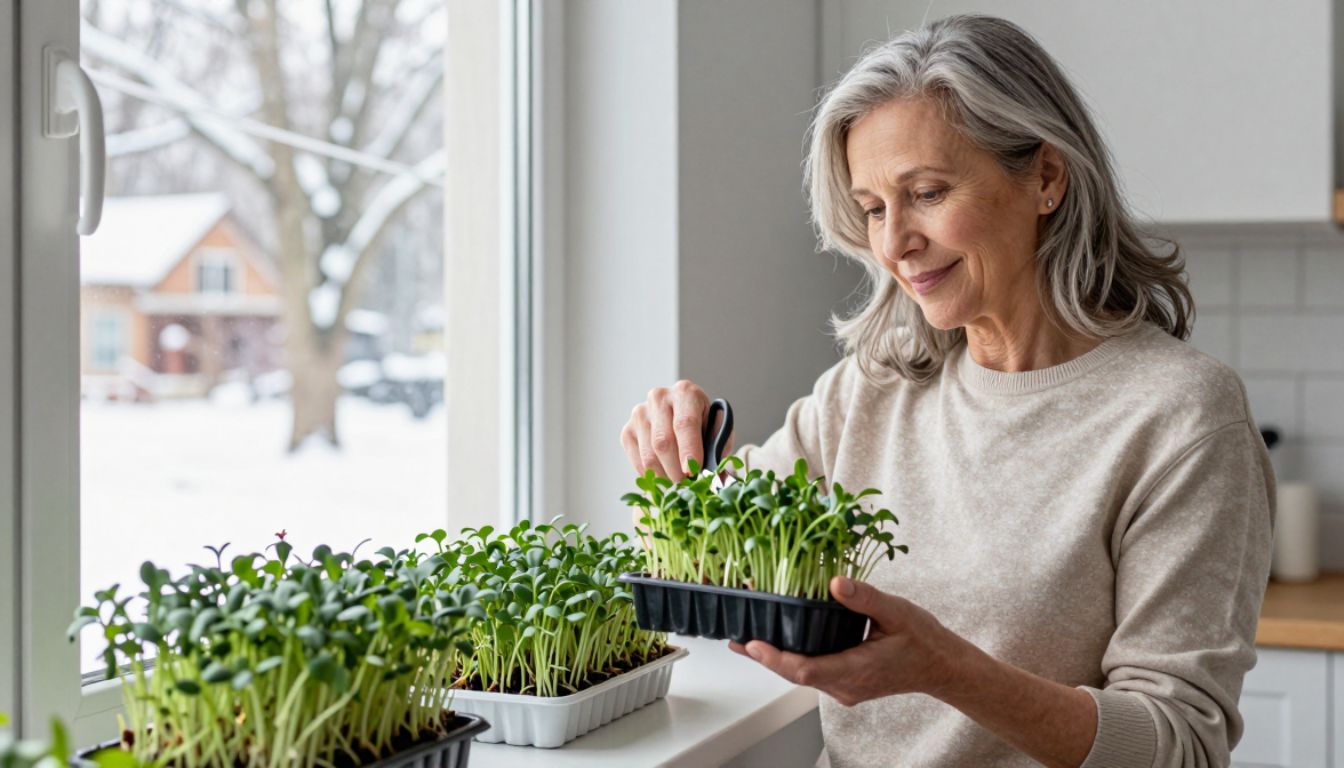
I never thought a humble tablespoon of chia seeds could turn my cramped apartment windowsill into a continuous harvest station. But here I am in the beginning of 2026, snipping fresh greens every single week while snow piles up outside.
Most people think indoor gardening requires a backyard, grow lights, or at least a green thumb. Chia microgreens proved all of that wrong. They grow in seven days, need nothing but water and a sunny spot, and taste like a peppery cross between arugula and sprouts. The best part? Once you nail the simple tray cadence, you’ll never run out.
Why chia microgreens are perfect for windowsill farming
Chia seeds are the same ones you sprinkle on smoothie bowls, but when you grow them as microgreens, they transform into nutrient-dense greens packed with vitamins A, C, and K. Unlike basil or tomatoes that demand months of care, chia microgreens go from seed to plate in about a week.
They don’t need soil. A shallow tray, a grow mat or even a damp paper towel, and indirect sunlight are enough. No bugs, no mess, no transplanting. For anyone living in a small space or dealing with winter cold, this is as low-stakes as gardening gets.
The timing matters too. As we head into January 2026, fresh greens at the grocery store are either expensive or shipped from thousands of miles away. Growing your own means you control freshness, cost, and flavor.

The simple setup that changed everything
I started with three 10×10 inch trays from a restaurant supply store, a roll of unbleached grow mats, and a bag of organic chia seeds. Total cost: under twenty dollars.
Here’s the exact routine:
- Day 1: Soak the grow mat in water, place it in the tray, and sprinkle chia seeds evenly across the surface. No need to bury them.
- Day 2–3: Mist twice daily with a spray bottle. The seeds will start to gel and sprout tiny white roots.
- Day 4–5: Move the tray to your sunniest windowsill. Keep misting. You’ll see green shoots pushing up.
- Day 6–7: Greens are ready to harvest. Snip with scissors just above the mat, rinse, and eat.
The game-changer was realizing I could stagger three trays. I start a new tray every two to three days, so by the time I harvest one, the next is almost ready. It’s a conveyor belt of fresh greens with almost zero effort.
What I learned from my first failures
My first attempt was a disaster. I used way too many seeds, thinking more would mean more greens. Instead, I got a dense, moldy mat that smelled like a swamp. Chia seeds expand when wet, so a light, even sprinkle is all you need.
I also made the mistake of placing the tray in direct afternoon sun during the sprouting phase. The mat dried out in hours, and half the seeds never germinated. Indirect light or a few feet back from the window works better until the greens are established.
Finally, I learned that tap water temperature matters. Cold water slows germination. Room-temperature or slightly warm water speeds things up, especially in winter.
The tray cadence that keeps harvests coming
Once I dialed in the basics, I set up a simple three-tray rotation:
- Tray A: Harvested today, cleaned, and ready to restart tomorrow.
- Tray B: Day 4, greens are about two inches tall.
- Tray C: Day 1, seeds just planted.
Every two days, I harvest one tray and start a new one. This rhythm means I’m never without fresh greens, and I’m never overwhelmed by a sudden glut. It’s the same principle bakeries use for sourdough starters—consistent small batches beat sporadic big ones.
I keep a simple checklist taped to the wall: plant date, mist reminders, and harvest day. It takes less than five minutes a day, usually while my coffee brews.
How I use a week’s worth of microgreens
A single 10×10 tray yields about two cups of loosely packed greens. That’s enough for:
- Topping scrambled eggs or avocado toast every morning
- Adding crunch and nutrients to sandwiches and wraps
- Tossing into salads for a peppery bite
- Blending into green smoothies (they’re milder than kale)
- Garnishing soups, grain bowls, or tacos
I’ve also started giving small bags to neighbors. People are genuinely surprised when I tell them these came from my windowsill, not a farmers market.

Why this works even if you’ve killed every houseplant
Chia microgreens are nearly impossible to mess up once you understand two things: moisture and light. Keep the mat damp but not soaking, and give them bright indirect light for most of the growth cycle.
You don’t need to worry about fertilizer, pruning, pests, or repotting. There’s no long-term commitment. If a tray fails, you’re out maybe fifty cents in seeds and a week of time. The feedback loop is fast, so you learn quickly.
For anyone who’s intimidated by indoor gardening or thinks they don’t have space, this is the easiest possible entry point. If you can remember to mist twice a day, you can do this.
What’s next for my windowsill farm
Now that the chia system is running smoothly, I’m experimenting with other fast-growing microgreens—radish, broccoli, and mustard. Each has a slightly different flavor and nutrient profile, and they all follow a similar seven-to-ten-day cycle.
I’m also looking at adding a small grow light for the darkest weeks of winter. Even a basic LED strip can extend the harvest season and let me use less sunny windowsills.
The bigger lesson, though, is that small systems compound. Three trays and ten minutes a week have given me fresh greens almost every day since October. It’s changed how I think about food, waste, and what’s possible in a tiny apartment.

Getting started this week
If you want to try this, here’s what to do right now:
- Order a pack of organic chia seeds (any health food store or online).
- Grab a shallow tray or reuse a takeout container with drainage holes poked in the bottom.
- Pick up grow mats or cut unbleached paper towels to fit.
- Choose your sunniest windowsill.
Start one tray this week. Mist it twice a day. In seven days, you’ll have fresh greens. If it works, start a second tray two days later. By mid-January, you’ll have a rhythm that feels effortless.
You don’t need a yard, a balcony, or even much natural talent. You just need a windowsill, a spray bottle, and the willingness to try something small. That’s how my mini farm started—and it’s still growing.