I dropped a dime into a glass of water, watched it sink, and suddenly understood why half my microgreens trays were failing.
It sounds absurd. But that ten-cent coin became the diagnostic tool that solved my biggest microgreens problem: inconsistent germination. For months, I’d been battling patchy growth, wasted seeds, and trays that looked perfect on one side and barren on the other. I tried different seeds, adjusted my watering schedule, even bought a new grow light. Nothing worked consistently.
Then I read about the “penny test” for soil density in gardening forums, adapted it for my hydroponic setup, and everything clicked into place. The experiment cost me one dime and thirty seconds. The results changed my entire approach to growing microgreens at home.
Why most home microgreens setups fail (and nobody talks about it)
Most beginners focus on the obvious variables: light, water, seed quality, temperature. Those matter, but there’s a hidden factor that sabotages more trays than anything else: uneven substrate density.
Whether you’re using soil, coco coir, or hemp mats, inconsistent compression creates microclimates within a single tray. Seeds in loose areas dry out too fast. Seeds in compacted zones suffocate or develop mold. You end up with a patchwork of thick growth and bare spots, and you have no idea why.
I was making this mistake in every single tray for six months. I’d sprinkle my growing medium, pat it down by hand, and assume it was level. It looked flat. It felt uniform. But appearances lie.
The $0.10 diagnostic that reveals everything
Here’s the experiment that changed everything:
Step 1: Fill a clear glass with water (any glass works).
Step 2: Take a dime and drop it into the water from about six inches above the surface.
Step 3: Watch how it falls. A dime in pure water sinks straight down with almost no wobble. That’s your control.
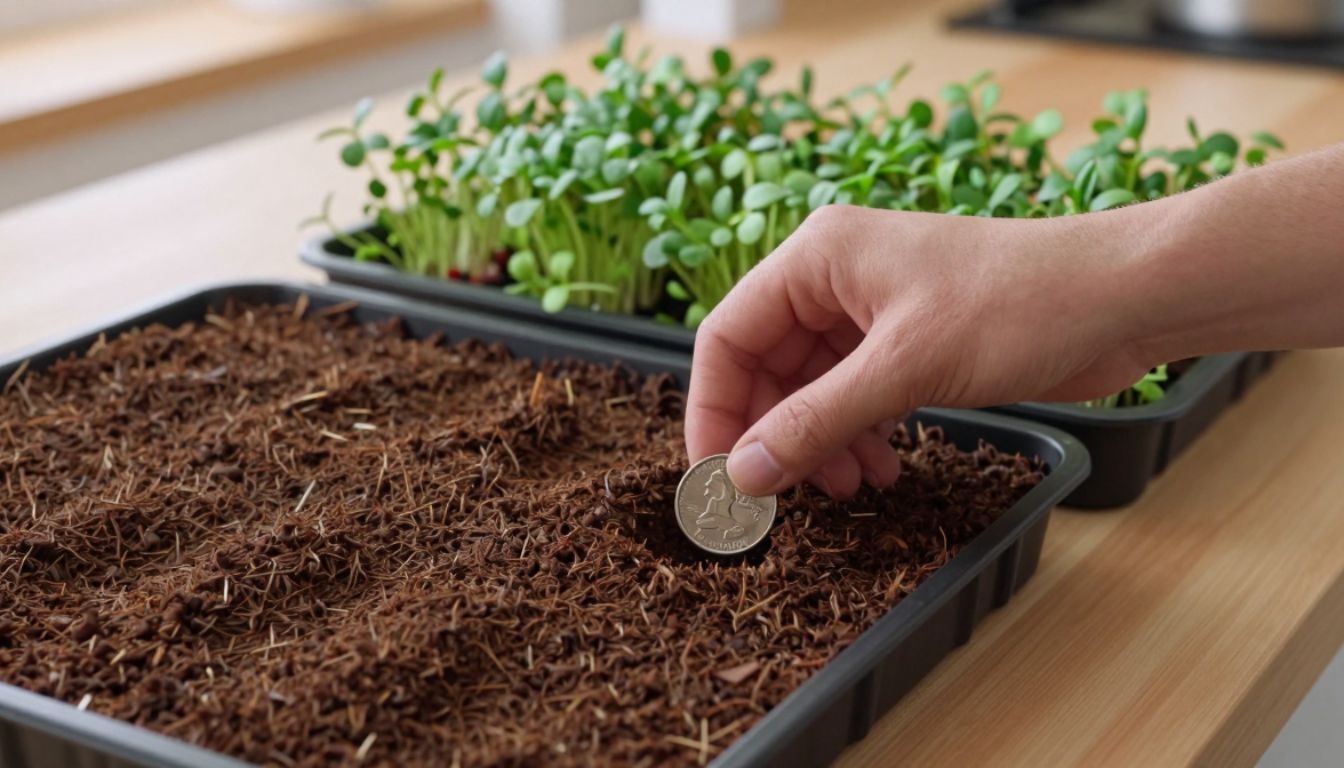
Step 4: Now test your substrate. Before you plant seeds, press a dime gently onto five different spots in your tray: four corners and dead center. Press with the same light pressure each time (about the weight of two fingers).
Step 5: Note where the dime sinks deeper and where it barely makes a dent.
The variation will shock you. In my first test, one corner accepted the dime a full quarter-inch deeper than the opposite corner. That’s a massive density difference. Seeds in the loose corner would dry out in hours. Seeds in the compacted corner would struggle to push roots through.
I’d been creating my own germination problems, tray after tray, because I couldn’t see the density variations with my eyes alone.
What I changed after the dime test
Once I could diagnose the problem, the fix was straightforward:
Substrate prep protocol (every tray, every time):
-
Weigh your growing medium. I use exactly 180 grams of pre-moistened coco coir for a standard 10×20 tray. Consistency starts with measurement, not eyeballing.
-
Spread the medium evenly, then use a flat-bottomed glass or small cutting board to compress it. I press down with both hands, applying steady pressure for five seconds in each section.
-
Run the dime test in five spots. If any area shows more than a 1/8-inch difference in depth, redistribute and re-compress.
-
Only then do I seed the tray.
This added maybe ninety seconds to my setup time. But my germination consistency jumped from roughly 60% to over 90% within two weeks.

The ripple effects nobody warns you about
Fixing density uniformity didn’t just improve germination rates. It cascaded into every other part of the process:
Watering became predictable. Uniform density means uniform water retention. I went from misting trays twice a day (and still seeing dry patches) to a single bottom-watering session that hydrates everything evenly.
Harvest timing tightened. When seeds germinate on the same day instead of staggering over 48 hours, your entire tray reaches harvest size at the same time. No more choosing between cutting early or leaving half the tray behind.
Mold problems vanished. Compacted zones were mold magnets because water pooled there. Even substrate means even drainage. I haven’t had a mold issue in eight weeks.
Seed costs dropped. I was over-seeding to compensate for patchy germination. Now I use 25% less seed per tray and get better coverage.
The dime didn’t just diagnose one problem. It revealed the root cause behind four separate issues I thought were unrelated.
How to adapt this for any microgreens setup
This works whether you’re growing on soil, coco coir, hemp mats, or hydroponic pads:
For soil or coco: Use the dime test as described. Aim for consistent depth across the entire tray.
For hemp or jute mats: These are pre-formed, but they can still have density variations, especially if they’ve been stored compressed. Press the dime onto the dry mat in five spots. If it compresses more than 1/16 inch in any area, soak that mat longer or choose a different one.
For hydroponic pads: Test after they’re fully saturated. Uneven saturation creates the same germination chaos as uneven density.
The principle is universal: seeds need uniform contact with their growing medium. The dime test makes the invisible visible.

What to do right now
If you’re already growing microgreens, run the dime test on your next tray before you seed it. Just press a dime into five spots and compare. You’ll probably find variations you never knew existed.
If you’re just starting out, build the test into your setup routine from day one. It takes thirty seconds and eliminates the single biggest beginner mistake.
And if you’ve been troubleshooting inconsistent results for weeks or months—trying different seeds, lights, watering schedules—pause and test your substrate density first. There’s a decent chance that ten-cent diagnostic will save you another month of trial and error.
I’ve run over forty trays since I started using this method in late November. My germination rates are now so predictable I can plan harvest dates three days out and hit them within six hours. My seed costs are down. My mold problems are gone. My yields per tray are up roughly 30%.
All because I stopped assuming my trays were level and started testing them with a dime.
The best experiments don’t require fancy equipment or big investments. Sometimes they just require noticing what you’ve been overlooking—and a coin you probably have in your pocket right now.