You followed the instructions. You misted daily. You checked the seeds twice a day. And still, your microgreens turned into a slimy, smelly mess. Before you decide you’re just “bad at growing things,” consider this: the problem wasn’t you—it was the setup you were told to use.
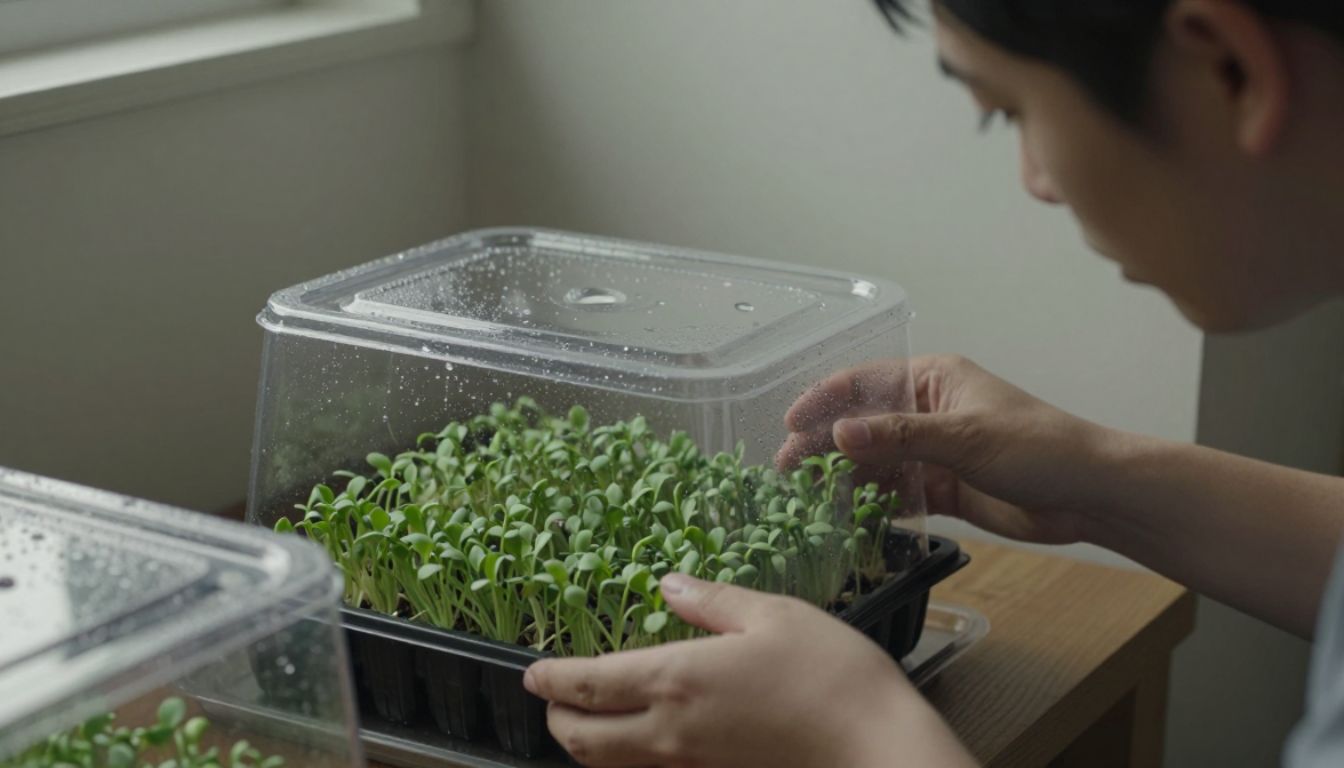
Most beginner microgreens guides push you toward enclosed humidity domes, sealed trays, and frequent misting. These methods sound protective and nurturing, but they create the exact conditions that trap moisture, suffocate roots, and invite rot. Your microgreens didn’t fail because you lack a green thumb. They failed because the environment was rigged against them from day one.
The moisture trap no one warns you about
Microgreens need moisture to germinate—but they also need airflow to survive past that first sprout. When you cover seeds with a humidity dome or plastic wrap and leave them in a warm spot, you’re building a sauna. Water evaporates from the soil, condenses on the cover, drips back down, and the cycle repeats. The surface stays wet. Oxygen can’t circulate. Bacteria and mold move in fast.
This is especially true if you’re growing indoors during winter months (like right now in late December 2025 across much of the US), when heating systems dry out the air and beginners overcompensate by sealing trays too tightly or misting too often. The result? A layer of slime on the soil surface, seeds that rot before they sprout, or stems that collapse within days.
The real issue isn’t moisture itself—it’s stagnant moisture. Microgreens thrive in consistent dampness with movement, not sitting water.

What actually causes slimy microgreens
Slimy microgreens are a symptom of anaerobic conditions—environments where oxygen is scarce and harmful microbes flourish. Here’s what sets the stage:
- No air circulation: Sealed domes, closed rooms, or trays placed in corners with no fan or breeze.
- Overwatering from the top: Misting multiple times a day keeps the surface perpetually wet, even if the soil below is dry.
- Dense seeding: Packing seeds too close together blocks airflow between stems and creates humid microclimates.
- Poor drainage: Trays without holes, or soil that’s too fine and compacted, hold water like a sponge with nowhere to go.
- Warm, still air: Temperatures above 75°F (24°C) combined with no ventilation accelerate bacterial growth.
None of these are about your skill. They’re about system design.
How to redesign your setup for airflow
The fix isn’t complicated, but it does require rethinking the “standard” beginner advice. Here’s what works:
Switch to bottom watering: Use a tray with drainage holes set inside a shallow water tray. Let the soil wick moisture up from below. The surface stays drier, roots stay hydrated, and you eliminate the misting cycle entirely.
Remove the dome early: If you use a humidity dome or cover for germination, take it off as soon as you see the first green shoots—usually within 2 to 4 days. Don’t wait for “full germination.” Early exposure to air is critical.
Add a small fan: A clip-on fan set to low, pointed near (not directly at) your trays, keeps air moving without drying out the soil. Run it for 4 to 6 hours a day, or continuously on the lowest setting. This one change can cut slime and mold by 80%.
Reduce seeding density: Follow the seed packet’s recommended rate, or go slightly under. Crowded trays = trapped moisture. Give each seed room to breathe.
Use a coarser growing medium: Fine potting soil compacts and holds water. Try a mix with perlite, coconut coir, or a commercial microgreens blend that drains quickly but retains some moisture.
Check your environment: If your grow space is a closed cabinet or a windowless room, crack a door or window. Stale air is the enemy.
What to do if slime has already started
If you catch it early—within the first 48 hours of noticing a slick surface or off smell—you may be able to recover:
- Stop misting immediately. Let the top layer dry out.
- Increase airflow. Add a fan or move the tray to a breezier spot.
- Tilt the tray gently to drain any standing water.
- Harvest early if the greens are at least 1 to 2 inches tall. They may not be full-grown, but they’re edible and better than composting the whole batch.
If the slime is widespread, the smell is strong, or stems are collapsing, it’s usually too late. Compost the batch, sanitize your tray with diluted hydrogen peroxide or vinegar, and start fresh with the airflow fixes in place.
Why this setup change makes all the difference
Microgreens are fast growers—most varieties are ready to harvest in 7 to 14 days. That speed means small mistakes compound quickly. A setup that traps moisture might seem fine on day one, but by day three, you’re dealing with rot. Conversely, a setup designed for airflow and drainage gives you a wide margin for error.
You’re not failing at microgreens. You were handed a method that works for some people in some climates under some conditions—but fails for most beginners in typical indoor environments, especially during winter heating season or summer humidity.
Once you shift to bottom watering, early dome removal, and consistent airflow, you’ll notice:
- Faster, more even germination
- Sturdier stems that don’t flop or yellow
- No slime, no mold, no smell
- Higher yield per tray

Your next grow starts here
Pick one variety known for forgiveness—sunflower, pea shoots, or radish. Set up your tray with drainage holes and a water reservoir underneath. Seed at the recommended density (or slightly under). Cover lightly for 2 days, then remove the cover and add a small fan. Water from below every 1 to 2 days, keeping the soil damp but not soggy.
Check your trays once in the morning and once in the evening. Look for green growth, not slime. If the surface looks dry, that’s okay—roots are pulling moisture from below. If you see condensation on the sides of the tray, increase airflow.
You’ll likely see healthy, harvestable greens within 10 days. And when you do, you’ll realize the problem was never you—it was the setup. Now you know how to fix it.